
[How To] Setup OBS From A To Z
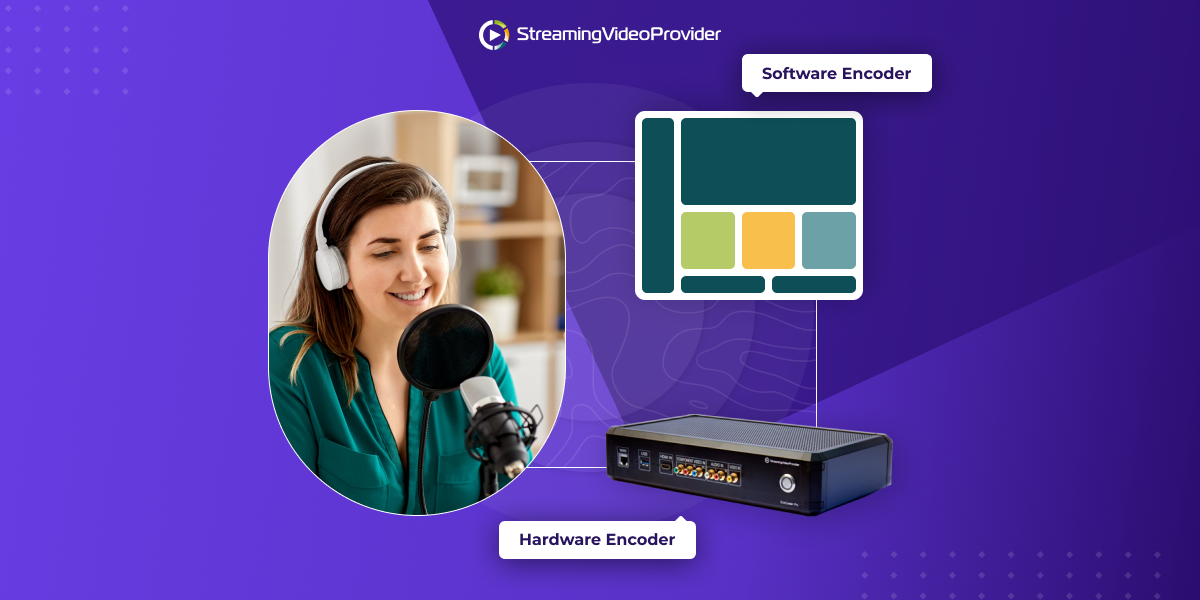
If you want to be among the people who make money live streaming, one of the first issues you have to tackle is the choice of live broadcasting software. The quest for the right tool can take you across various choices, but, when it comes to free live streaming software, there is really only one contender: OBS, short for Open Broadcaster Software.

So, how do you set up OBS for live streaming?
Despite its powerful performance and an impressive array of options, OBS is not the easiest of streaming programs to comprehend and master.
Don’t worry! This OBS tutorial will guide you in setting up the Open Broadcaster Software. Let’s begin!
How Do You Download The Open Broadcaster Software?
OBS is both free and open source. You can easily access the software and download it from OBS’ download page: https://obsproject.com/download
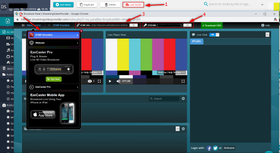
You’re likely to see something like this:
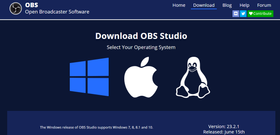
OBS Software is available across various operating systems
OBS is free for the top three computer operating systems in the world, namely: Windows, Mac OS, and Linux.
Here are the download requirements for OBS:
- For Windows: You must have Windows 7 or later
- macOS: You must have at least macOS 10.11
Once you have downloaded the setup file, you can install it and launch the program. Here’s what it looks like the first time you start it up:
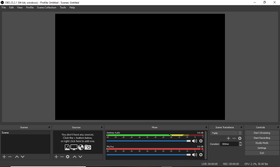
A simple interface with the necessary controls upfront – symbolizing the clatter-free efficiency of OBS
Awesome! Let’s talk about how to use OBS studio.
How To Set up OBS Audio Settings?
When live streaming, your video is certainly in the spotlight, but the quality of your audio is equally important.
In order to access the OBS audio settings, click on ‘Settings’ placed at the extreme bottom right of the OBS interface.
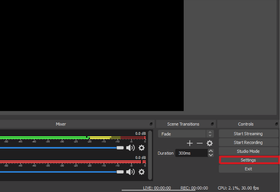
The ‘Settings’ in the bottom right (highlighted in red)
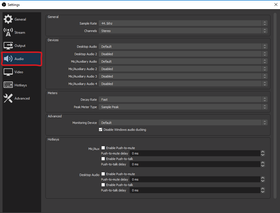
The following dialog box will display a number of options–click on Audio settings.
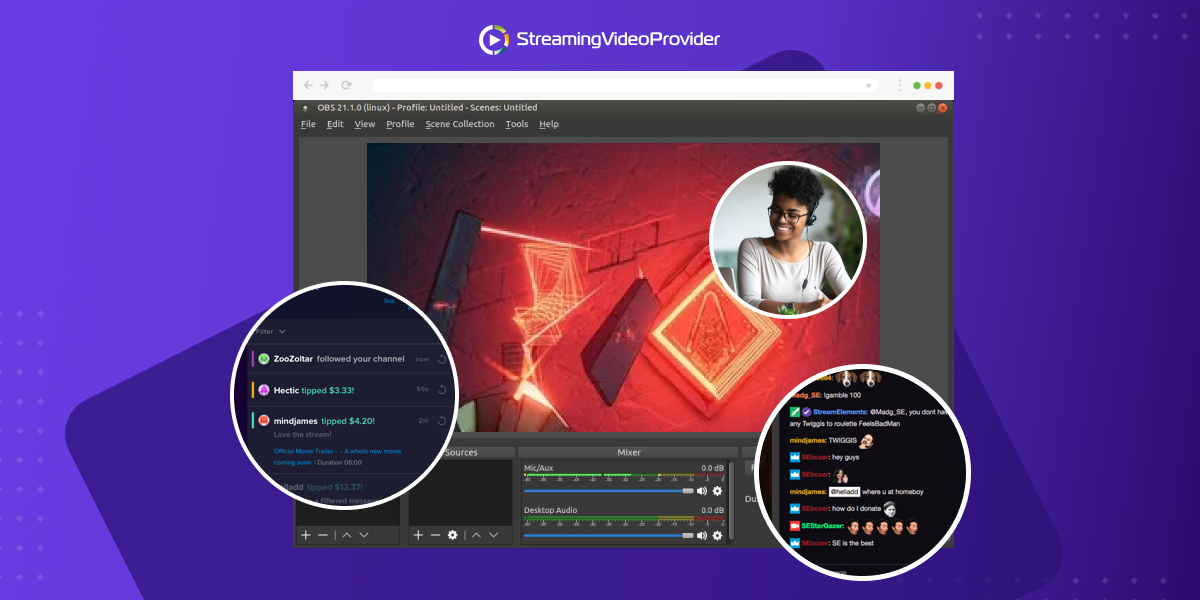
Control the sound volume with the OBS mixer
How Can You Connect Your Microphone?
In the Audio Settings, there are 4 main blocks of settings. Navigate to the second ‘Devices’ section and click on the option for ‘Mic/Auxiliary Audio Device.’
The drop-down menu will display the devices connected to the computer, as well as the option for the default device–your built-in microphone.
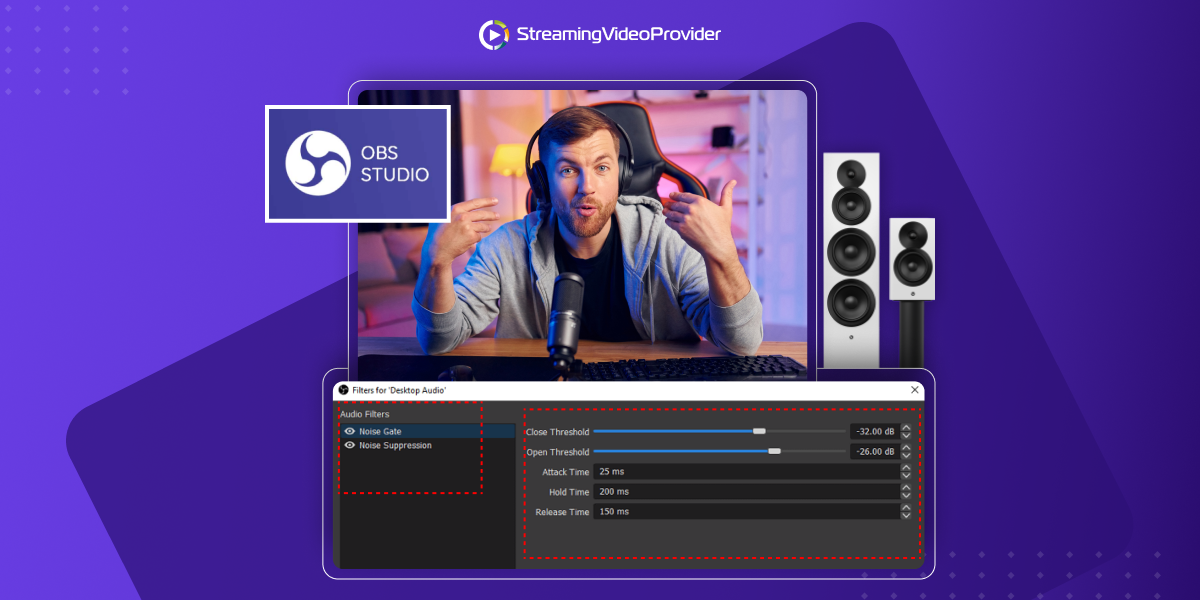
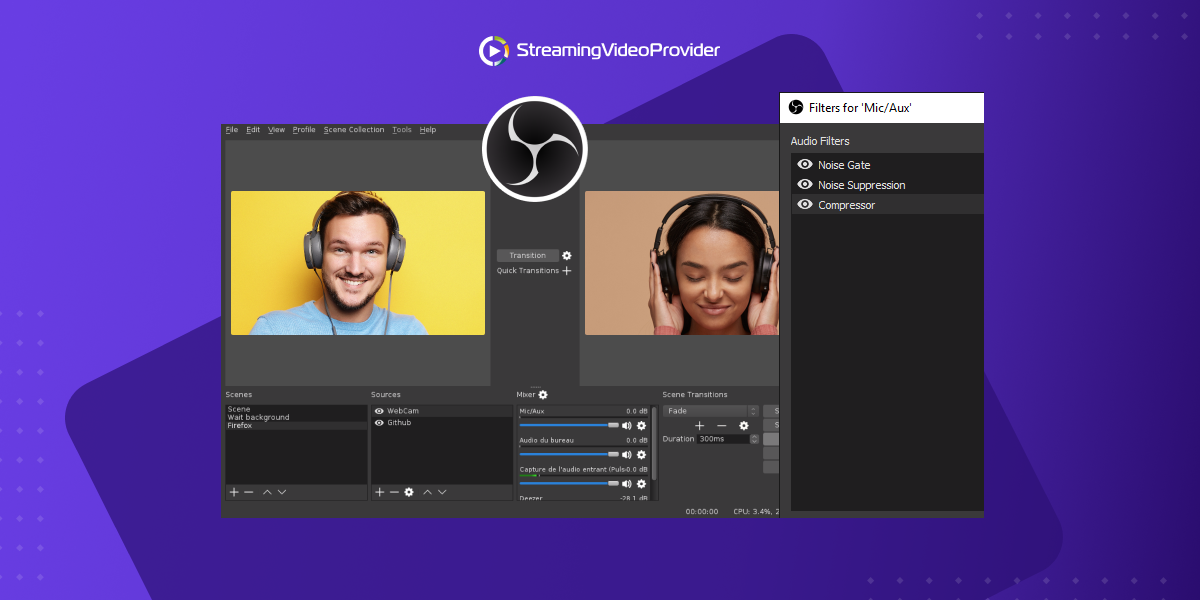
Tip: You can further improve your microphone sound with OBS microphone filters.
How To Use System Audio In OBS?
Consider live streaming an action game on social media. For a rich live stream experience, high-quality in-game sound is absolutely necessary.
You will need to access the ‘Devices’ section in Audio settings again. Click on the option for ‘Desktop Audio’ and select ‘default.’ Disable everything else, just in case.
Click ‘Apply’, ‘OK’ and you’ll go back to the main screen.
Best OBS Audio Settings
The sound control option, for both microphone audio and desktop audio, is right there at the center of the OBS home screen–labeled ‘Mixer.’
There aren’t any ideal OBS audio settings, but there are a few rules of thumb to keep in mind.
Mic/Aux. Try speaking at the mic and you’ll see the volume bar rising. For best results, it should be in the yellow area. Move the slider to adjust the volume.
Desktop Audio. Most of the time, you’d want to keep your desktop audio a bit lower than the microphone to help your voice stand out. Usually, 60-80% (or somewhere in the green area) works best. If you need more advanced settings, try OBS Noise Gate and other OBS microphone filters.
OBS Scenes – The What, Why And How?
OBS Scenes are the software’s live-streaming templates that allow you to shift between different views and streaming outputs.
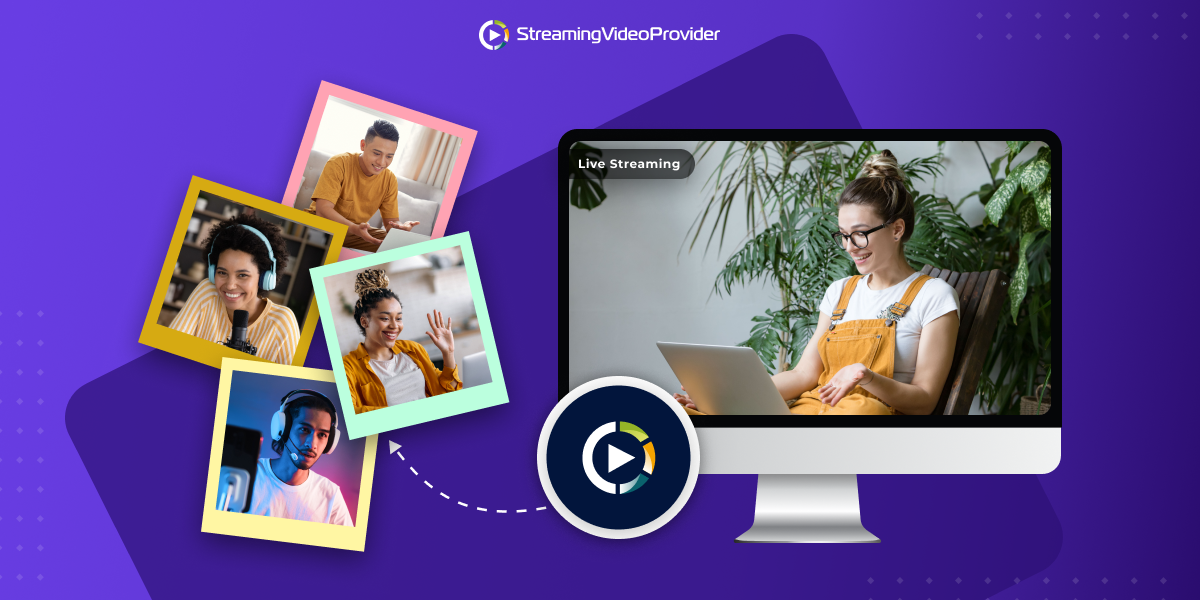
A scene is essentially a set of sources that have been laid out in a certain order. Once you have assembled a predefined set of sources (e.g. your webcam + browser window), simply save the scene and rename it to something of your liking.
It might sound complicated but we assure you it’s not! Let’s dive a bit deeper.
Scenes are located at the bottom right of OBS’s home screen.

In order to create a scene, you first have to add a video source. Here’s how to add a source.
How To Add A Source
The sources box is located right next to the ‘Scenes’ tab on the home page.
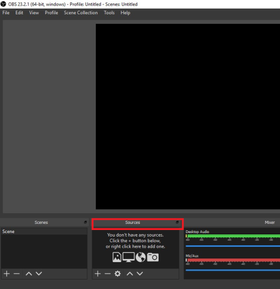
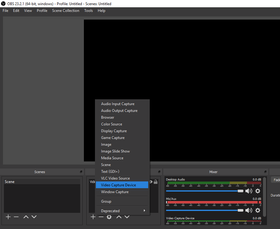
Click add (the ‘+’ icon) in the ‘Sources’ tab. This will open up a dialog box of different video source options.
You can use your browser, an image slideshow or even in-game capture. Some sources can be overwhelming when you’re just starting out, so we’ll just walk you through the ones you need to know.
Breakdown Of The Most Important OBS Sources | |
|---|---|
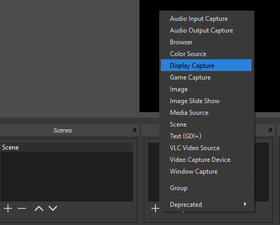
Display Capture: Capture your entire screen. Great for applications that run in full-screen mode. |  |
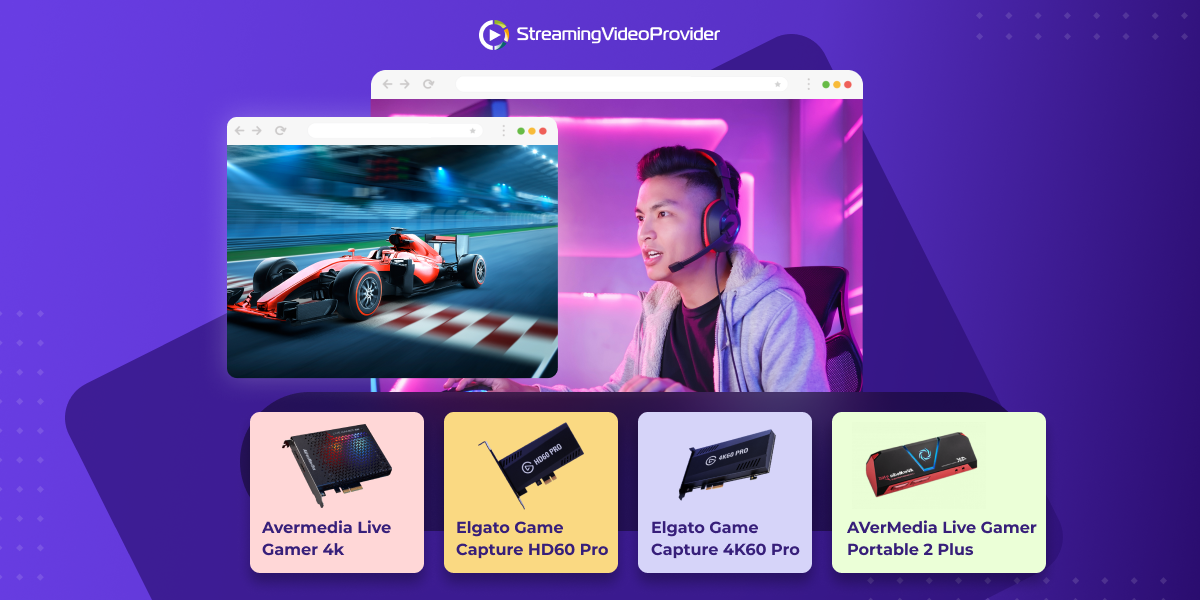
Game Capture: Display a specific game application. | |
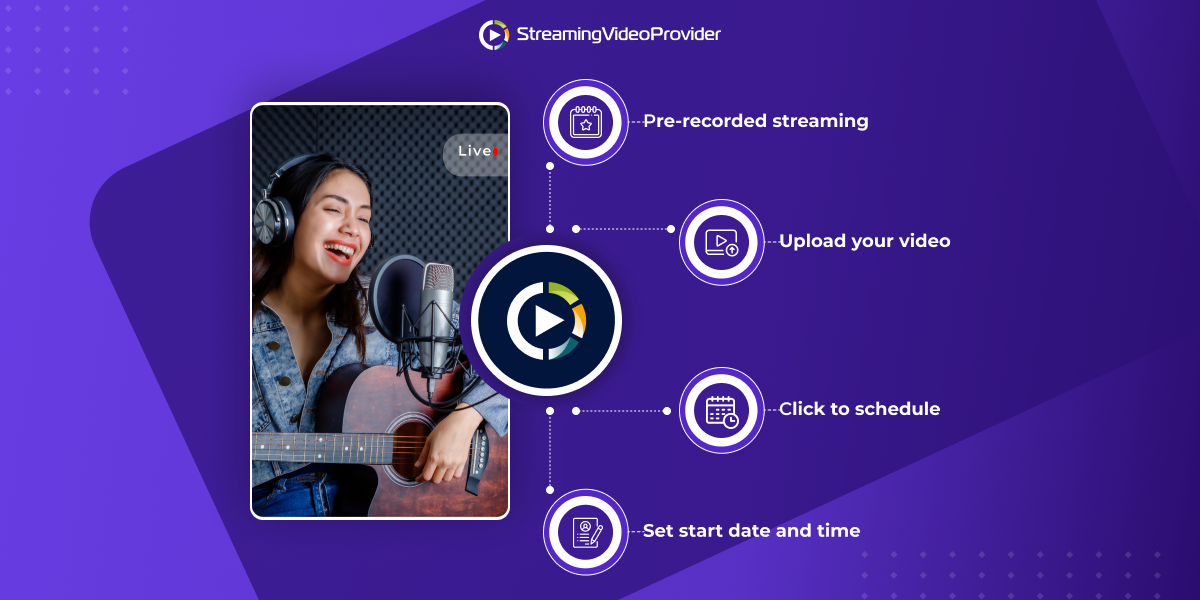
Image/Image Slideshow: Display a single image or a collection of images, e.g. a “stream offline” message. | |
Media Source: Add an external audio or video file. | |
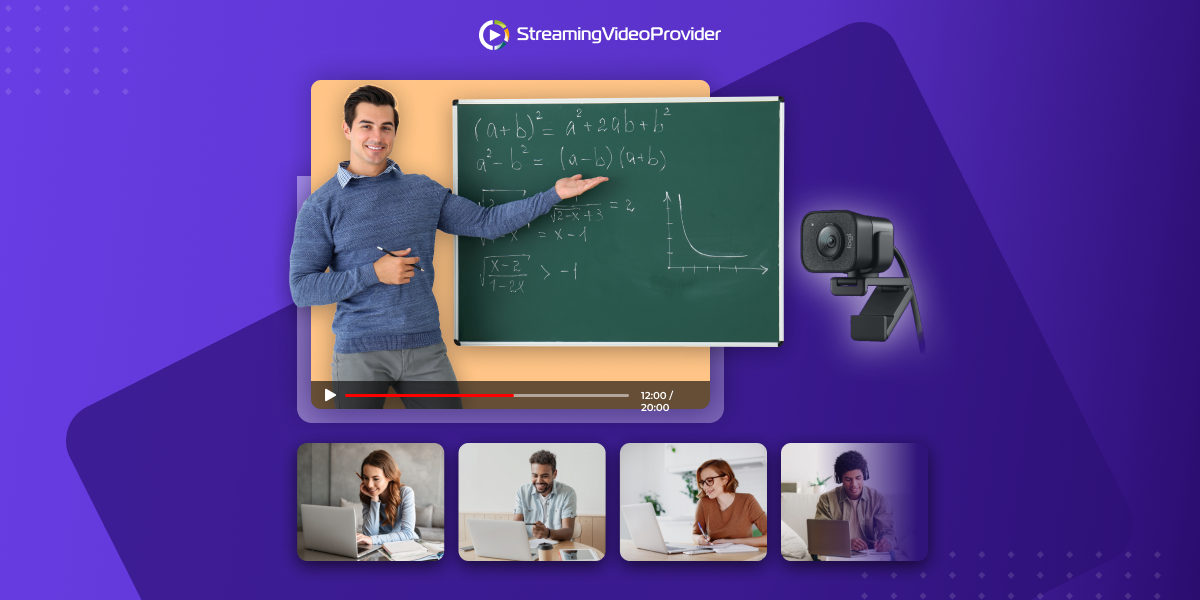
Video Capture Device: Display the video from your webcam or an external source (e.g. to connect OBS to a capture card) | |
Window Capture: Displays a specific program window. | |
Now that you know how to build an entire outlay for your scene, you can make multiple scenes.
Simply head back to the ‘Scenes’ list and click on the ‘+’ icon to add new scenes. If you want minor adjustments from your first scene, right-click on your first scene, and click on ‘Duplicate’ to get a copy from where you can make the necessary tweaks.
Once you have your scenes set up, you can start live streaming and recording your screen.
How To Live Stream With OBS?
Finally, we got to the meat of this OBS setup guide!
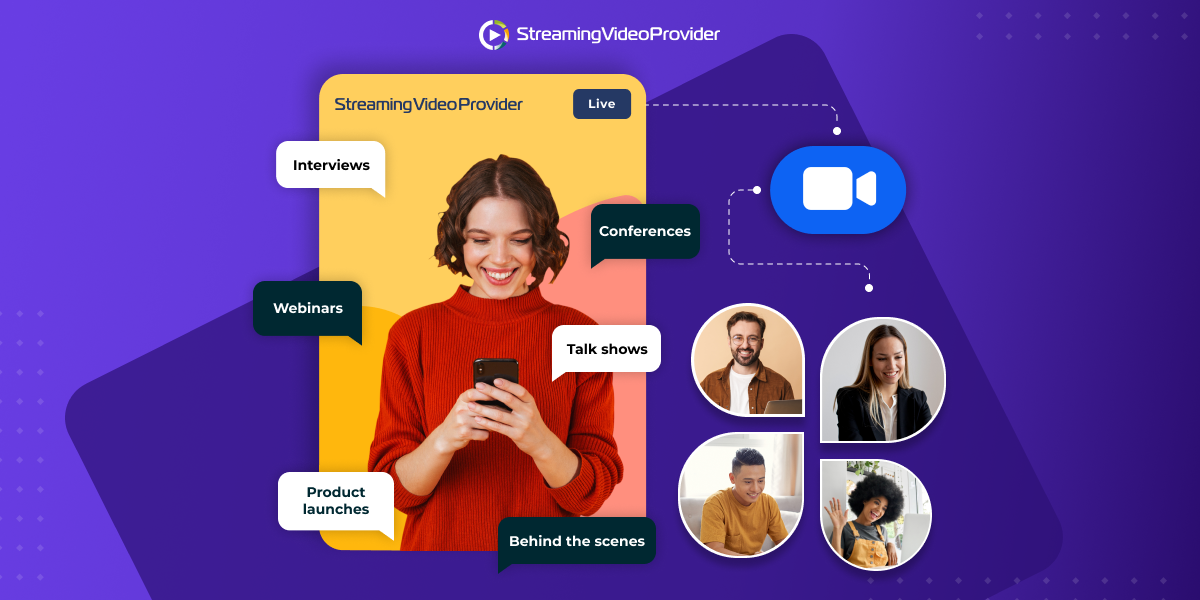
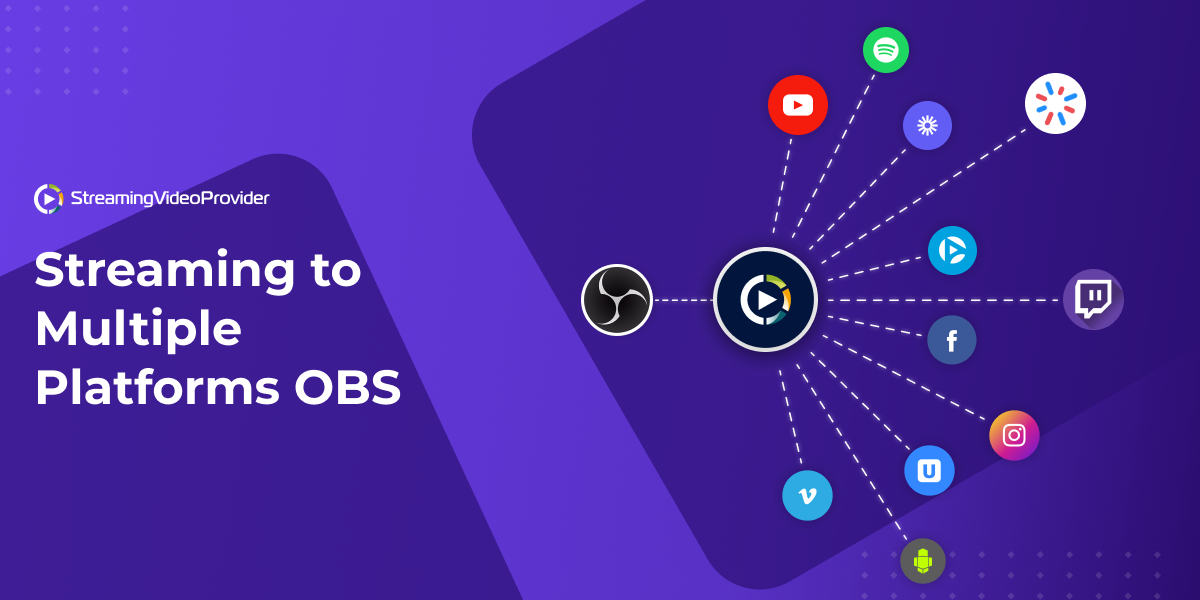
To live stream with OBS, you need to compare several streaming video providers and choose the solution that best fits your needs and budget. This can be any free platform such as YouTube or a business video platform such as StreamingVideoProvider. You need to connect OBS account with your streaming platform.
Note that the steps to multistream with OBS are slightly different.
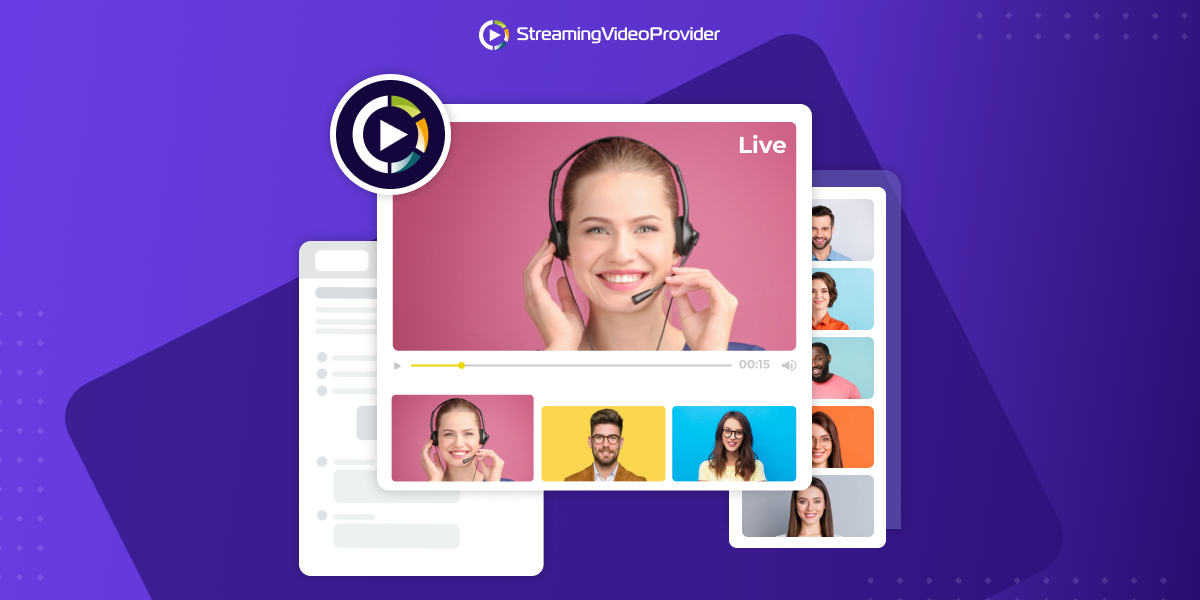
This guide will show you how to set up OBS for live streaming with StreamingVideoProvider. However, the process is quite similar with other live streaming video platforms.
To link your StreamingVideoProvider account to OBS, you will have to generate an API key.
How To Obtain The OBS Stream Key
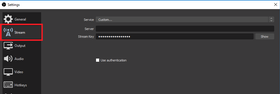
- Open ‘Settings’ through the OBS home page
- Click on ‘Stream’ and select the option. In the following menu, you need to select Custom streaming service (to link StreamingVideoProvider).

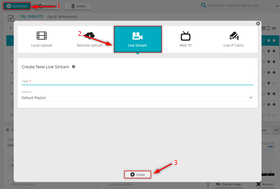
- Create a free StreamingVideoProvider account if you don’t have one.
- Click on ‘Add Media’ to create your first live stream.
- Click ‘Live Studio’ Copy ‘RTMP URL’ and paste it to ‘Server’ in the OBS stream settings. Then copy ‘Stream’ and paste it to ‘Stream Key’.
If you prefer video, click below to watch our 1-minute tutorial on how to live stream with OBS:
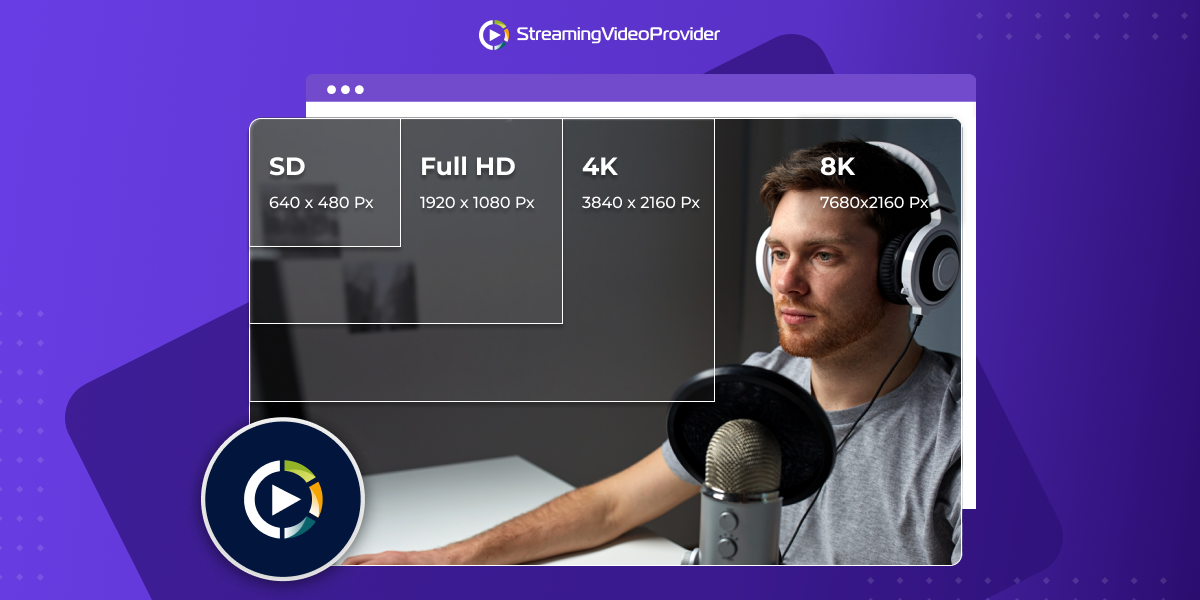
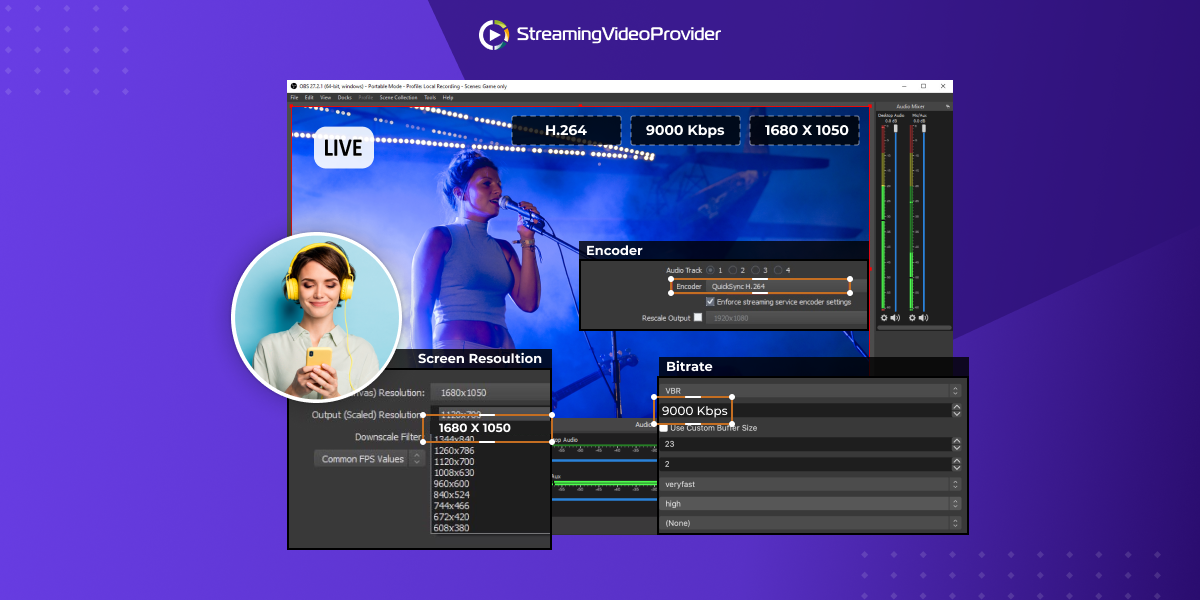
The Best Video Settings For Streaming
There are no universal rules here, so we’ll recommend broadcasting settings that work in most cases. The two crucial parameters are frame rate (FPS) and Bitrate. The higher these values, the better internet connection your viewers will need. If you plan to stream to people who might be on 3G, settle for lower FPS and Bitrate.
For example, attempting to live stream at 60FPS while using 3500 bitrate settings can result in buffering, dropping frames and an overall deterioration in the quality of your live stream.
Going for a moderate 2500 bitrate at 30 FPS is far more likely to guarantee a stable live stream for most viewers.
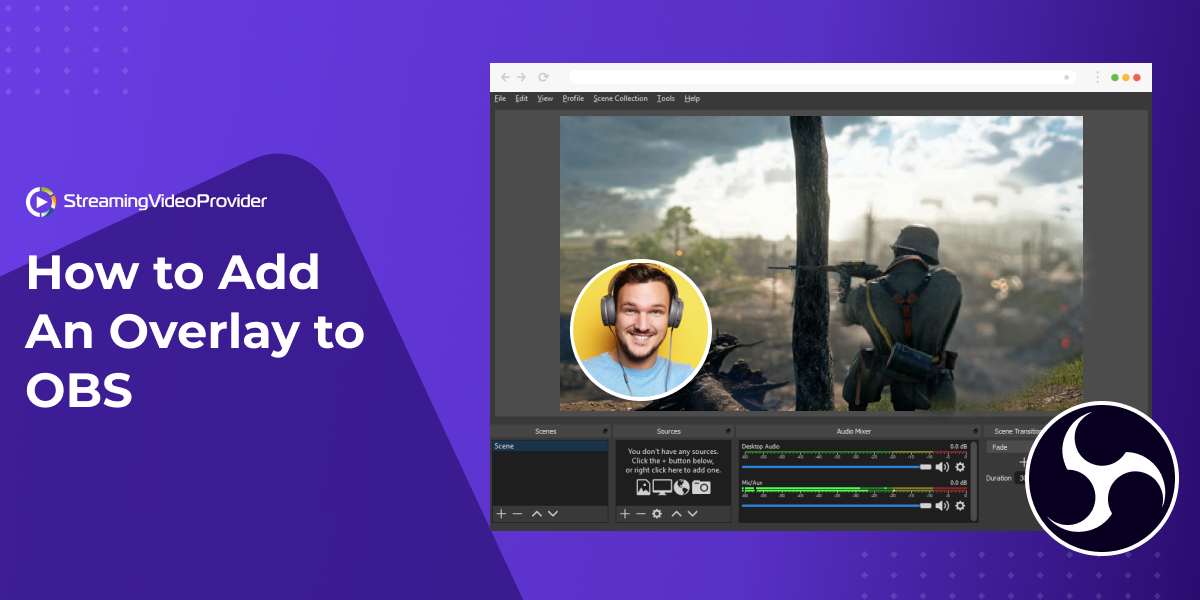
How To Add A Webcam Overlay
OBS overlays are a great way to personalize your streams, e.g. when creating online tutorials.
Setting up an OBS webcam overlay is easy. Let us walk you through it.
First and foremost, if you have multiple screen setups predefined in OBS, you need to make sure that the scene you want to overlay has been selected.
Then, proceed to ‘Sources’ and click on the ‘+’ icon located at the bottom of the tab.
When you click on the ‘+’ icon, there are several options in the sources list. But webcam feed isn’t one of them...
Setting up OBS webcam overlay requires you to select ‘Video Capture Device’. Hidden behind this cryptic name is your webcam.
How To Record Your Screen With OBS?
If you’re looking to use OBS to create online tutorials or maybe even sell online courses, OBS has something for you, too.
So, how to use OBS to record? Let us walk you through.
Add ‘Display Capture’ to your sources and ensure that it remains at the very top of the sources
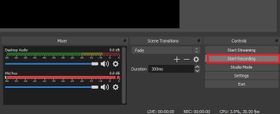
- Navigate to the left of the OBS homepage and click on ‘Start Recording’
Voilà! That’s all you require to start the OBS screen recorder. You can upload the recorded video to a live video streaming service like StreamingVideoProvider, later on.
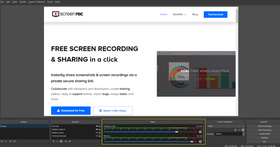
On another note, in case you're looking for a simple free screen recorder, then look no further and try ScreenRec.
Best OBS Settings For Recording
Just like with streaming, FPS and bitrate are the video settings to pay attention to. They determine the quality of your video–for example, opting for lower bitrates and FPS can make your video look distorted and cheap.
Here’s how you can access OBS encoding settings to tinker with the video quality:
- Access the ‘Settings’ option on the extreme left of the OBS homepage
- Click on the ‘Output’ option from the following dialog box
- Recommended video settings:
- Software video encoding (x264), unless you have a graphics card with hardware encoding such as Nvidia NVENC.
- If you don’t know what you’re doing, use the default video and audio bitrate. Lower bitrates lead to lower CPU usage.
- Change the recording format to mp4 because that’s what most video platforms accept.

If you're looking to adjust your OBS stream qualify, see the best OBS settings for streaming here.
Conclusion
So, there you have it! Your full guide on how to set up OBS.
At first, OBS studio might seem complex and confusing but we assure you that, with time, you will get the hang of it. What’s great about this streaming program is that it can be used both by beginners and by professionals. OBS is filled to the brim with options, plugins and capabilities, but, at the same time, its simple interface makes it friendly enough for those who are just starting out.
References And Further Reading
- Twitch streaming from your PC guide: Setting up a video stream in OBS
- Open Broadcaster Software
- Getting Started with OBS — Scenes
- Setting Up Scenes in OBS Studio - Free Graphics Included
- Scenes in OBS Studio | Tutorial 8/13
- How to Stream or Record Your Games for Broadcast Online
- Basic OBS Studio Setup
- How To Set Up Obs For Live Streaming

You Can Start Streaming With OBS To Any Site In 2 Minutes
Go Live Now


DON’T MISS OUT
Get updates on new articles, webinars and other opportunities: