
The Best OBS Mic Filter Settings for Live Streaming
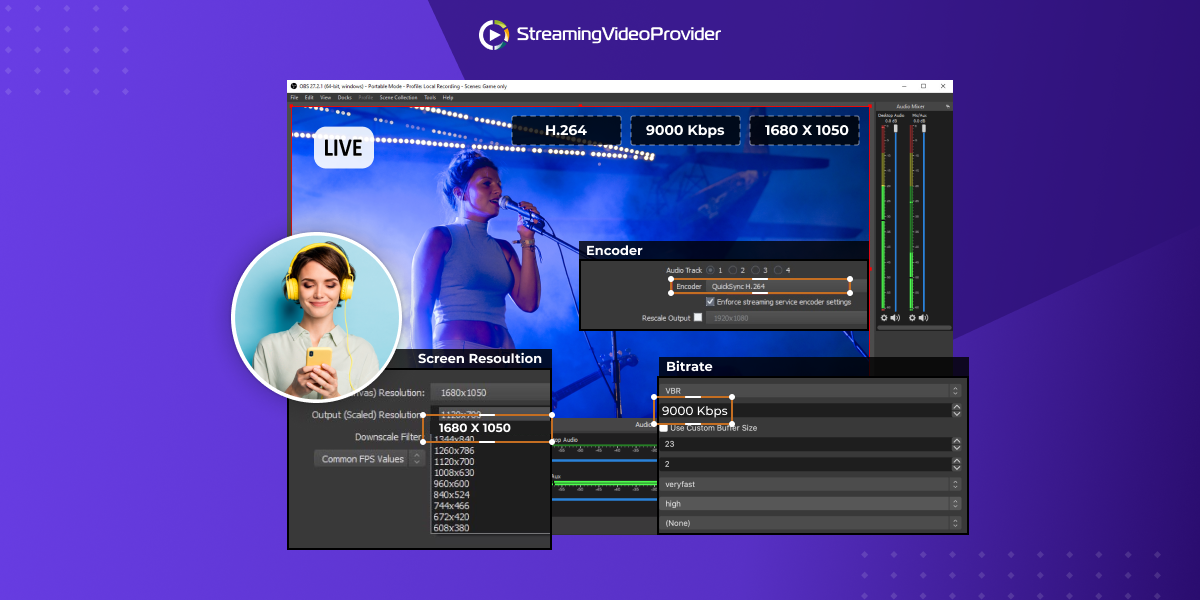
So you’ve just finished getting OBS installed, configured your video settings, and now want to start streaming immediately. But before you hit that broadcast button, you should take some time to properly configure your audio and microphone settings with the best OBS mic filters.
As you will be regularly talking to your audience while streaming, your microphone filter settings are just as important as your OBS video settings.
OBS microphone filters are easy to configure, and can transform your stream just as dramatically as adding your own high-quality OBS overlays.
What are OBS mic filters?
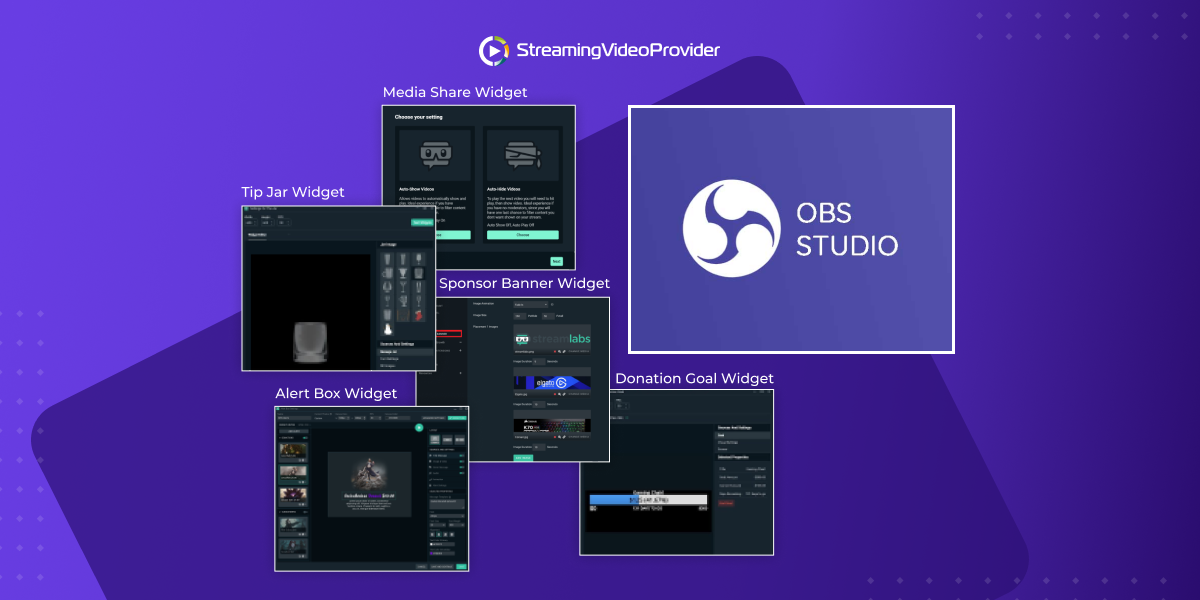
Mic filters are a series of settings within OBS that can improve the sound of your microphone in a number of different ways. The common OBS filters many streamers use to improve the quality of their sound are as follows:
- Compressor — Makes for more consistent audio levels
- Noise Gate — Helps capture only your intended sounds
- Noise Suppression — Helps eliminate background noise
- Gain — Helps boost your microphone’s volume
Applying mic filters within OBS
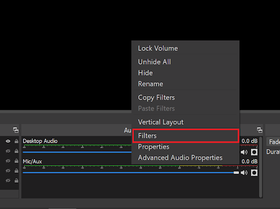
Firstly, to add a mic filter, simply right click on your Mic/Aux section of OBS to be shown a menu. Once this menu displays, click on ‘Filters’ from the list
Once you have clicked on ‘Filters’ you will be shown the screen below. All you have to do now is click on the (+) icon to bring up the list of OBS filters that you can apply.
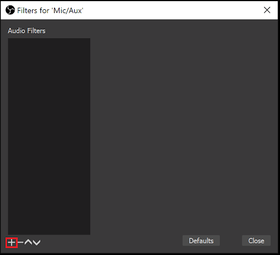
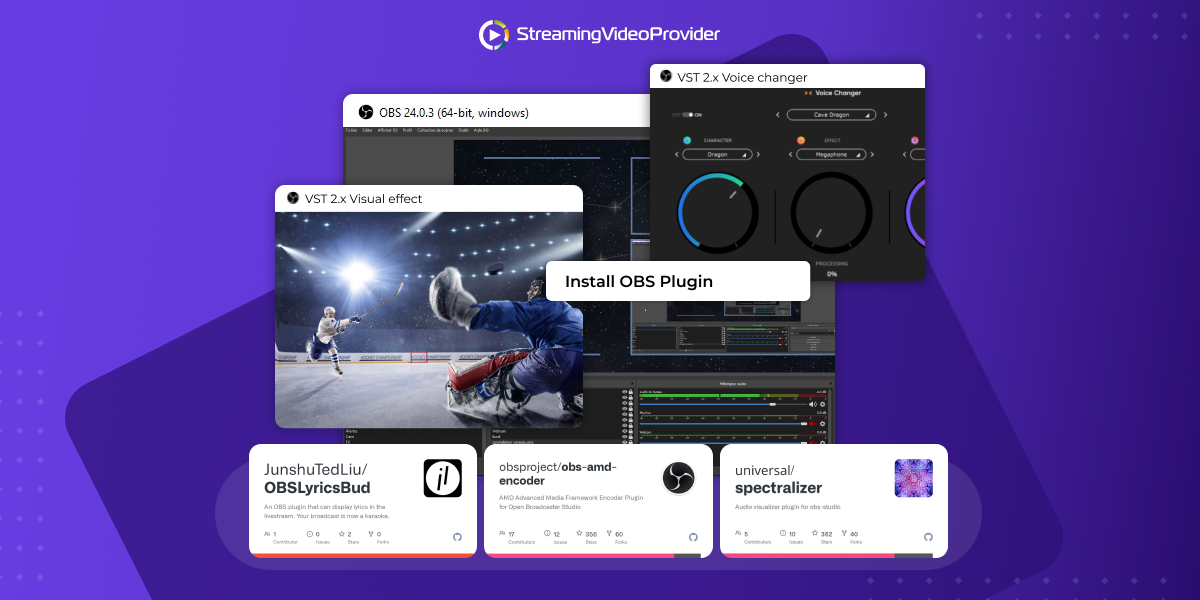
In addition to selecting from the OBS built-in filters, you can also add filters via plugins through the same process. If you are adding plugins, you should select VST 2.x at the bottom of the list.
Configuring OBS mic filters
Now that we have established how to add the filters to OBS, let's take a look at how to configure the most popular ones for your livestream. Once you have added these filters, you can expect to have a more professional sounding microphone output through OBS.
Combining together the correct microphone, polar pattern and OBS audio filters can significantly reduce background noise, and elevate your stream to compete with the best of the best.
Compressor
The purpose of a compressor is to make loud sounds quieter, improve your audio, and give a more consistent sound to the audience. When it comes to the ideal compressor settings, it really depends on your audio input (microphone). It is best to experiment around with the settings to see what works best for you and your equipment. A good starting point would be to apply the following settings.

Here is a list of the OBS compressor settings, and how they will impact your sound.
Compressor Ratio - The amount of compression applied to the microphone.
Threshold - The point at which the compressor activates.
Attack - How quickly the compressor activates once triggered.
Release - How quickly the compressor deactivates.
Output Gain - Boost applied to the output
Noise Gate
Noise Gates can be very useful for eliminating background sounds such as keyboard noise or nearby conversations. When experimenting around with Noise Gates settings, you should pay attention to your OBS audio mixer. You need to ensure that nothing is being picked up by the microphone while you are quiet.
Your Mic/Aux visual indicator (shown below ‘Desktop Audio’) within OBS should not be receiving an audio signal in the moments where you aren’t speaking into the microphone.
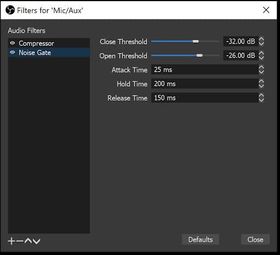
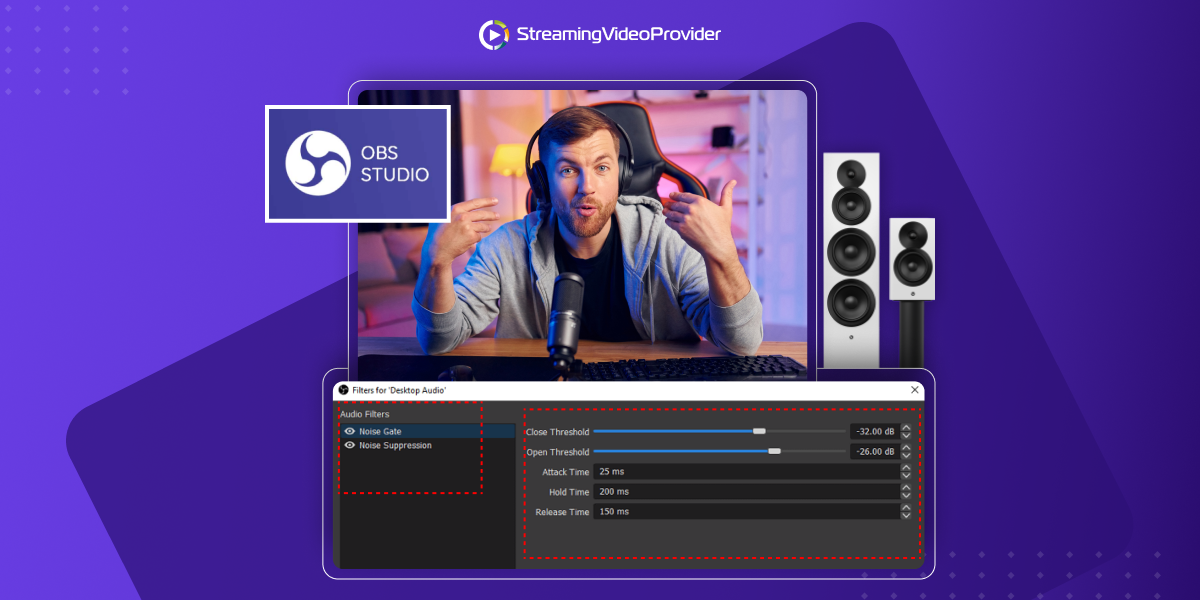
When opening up your Noise Gate filter within OBS, you will see the below settings box. Your ‘Close Threshold’ should be just a bit higher than your ‘Open Threshold’ to ensure that your microphone is able to eliminate background noise, but still receive your voice clearly.
These settings will differ slightly depending on your hardware, but a good place to start would be the below settings.
Close Threshold = Sounds below this level with be muted
Open Threshold = Sounds reaching this level with be unmuted
Noise Suppression Filter
This filter is ideal for removing smaller background noises such as sounds from your chair or the sounds of nearby equipment. Used in conjunction with the Noise Gate, it can further remove unwanted background noise and sounds from your environment.
Once you have chosen to add Noise Suppression within OBS, you may be given the option to choose either Speex or RNNoise. You should test these two different methods out with your configuration and see how they impact your sound and hardware usage.
For your settings, ‘Suppression Level’ (-30dB) is a good starting point, but if you feel this is too much you can try lowering it incrementally until you are happy with the result.
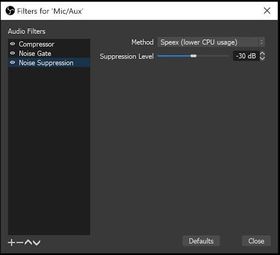
Noise Suppression has a more subtle effect compared to what you get from the Noise Gate filter.
Gain Filter
This is one of the easier filters to configure as it has one slider bar with no additional options. This setting is used to boost volume if needed, and can be used to reduce gain where needed.
This setting can be used with various audio devices to try and reduce clipping or distortion from the microphone as well as boosting the sound level up in cases where it is too quiet.
The default settings are best to start with and then you can either increase or decrease as you see fit.
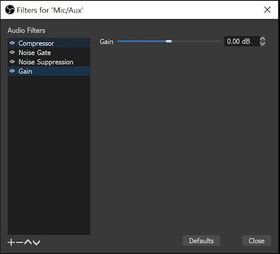
You should be slowly adjusting these settings as if you have too much gain, your audio will start distorting which reduces the quality of your sound. In a lot of cases, gain can simply be left at its default setting for optimal results.
OBS Microphone filters compared
Let’s take a quick look at all of the OBS mic settings we have covered in a comparison table. This will give you a quick understanding of what each filter does, and how long it will take you to configure.
OBS Filter | Purpose | OBS Settings | Time to Configure |
Compressor | Consistent levels. Makes loud sounds quieter. | Ratio3:1 | 10-15 Minutes |
Noise Gate | Helps capture only your intended sounds | Close Threshold - 32dB | 10-15 Minutes |
Noise Suppression | Helps eliminate background noise | Suppression - -30dB (Speex / RNNoise) | 2 Minutes |
Gain | Helps boost your microphone’s volume | Default 0 - | 2 Minutes |
FAQs
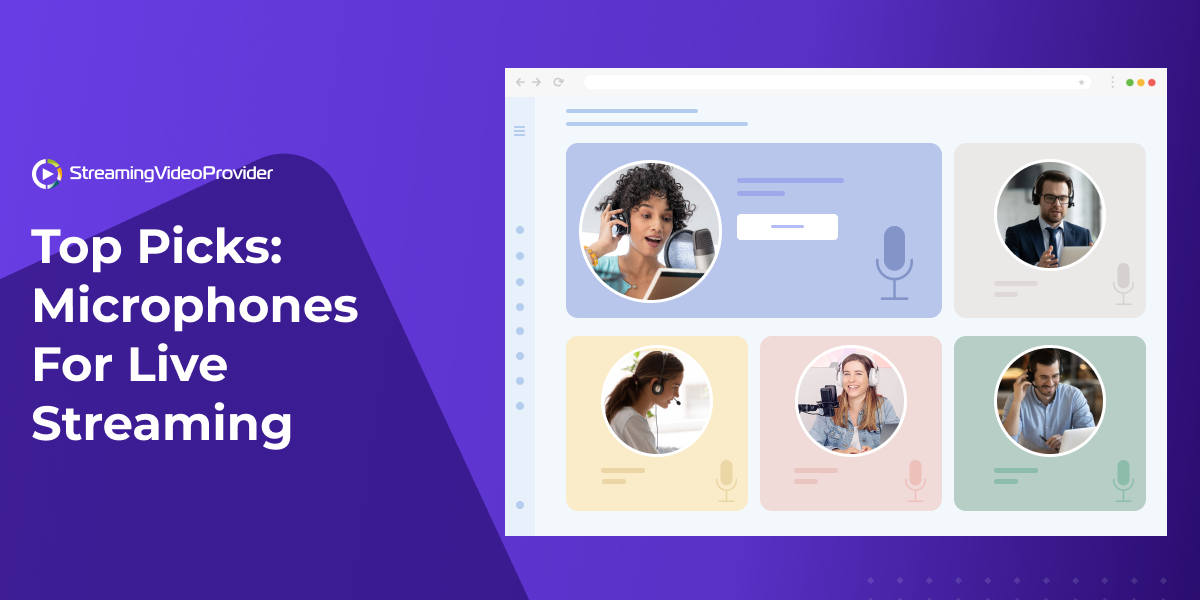
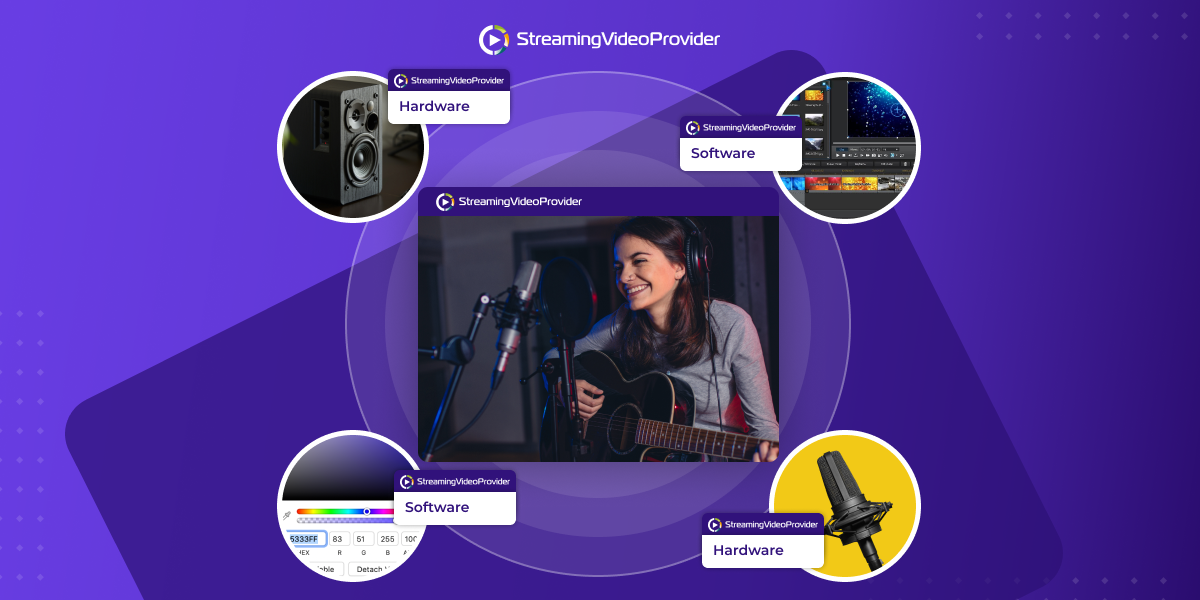
There are a few things that you can try to improve the quality of your microphone, but first, you should make sure you have chosen the right hardware. You should assess which microphone would be best suited for your content.
You should look at Dynamic and Condenser microphones, and find out which polar pattern would be most beneficial for you. You should also (where possible) look to use XLR cables if supported by your microphone.
- Choose the right microphone based on your requirements
- Ensure your microphone has the appropriate polar pattern for your usage
- Use XLR cables where possible
- Position your microphone optimally — 6-12 inches from your mouth
- Use shock mounts and swivel mounts to improve stability and placement
- Find the best OBS mic filter settings and apply them
The best microphone for streaming depends on the type of content you are creating. You should look at the variations between Dynamic and Condenser microphones, and see which one fits your content type best. Some are more versatile than others so you will need to keep that in mind when deciding on your microphone of choice.
Typically, buying USB microphones will save you a bit of money if you are on a budget whereas XLR microphones are known as producing better quality audio.
If you are looking for OBS studio filters via plugins, a good place to start is with the VST EQ plugin called Marvel GEQ. This VST plugin is free, and gives you more control over your microphone output quality.
Marvel GEQ is one of many mic filters OBS supports via plugins. When used in conjunction with the other OBS filters, you can get some very impressive results. This plugin can be added in the same way that we covered earlier, only instead of selecting an existing filter from the list, you select the VST 2.X plugin option.
Conclusion
Configuring your OBS mic filters is a small task that can generate big results. After you have spent your hard earned cash on a microphone, it’s worth getting it sounding its best!
The above are the best OBS mic filters, all you need to do is find the right settings for your configuration. Combining the OBS Compressor with the Noise Gate and Noise Suppression can be a lifesaver if you regularly stream in busy or loud locations.
Even if you are streaming from one room regularly, eliminating additional background sounds from computer fans and street noise is the difference between a professional sounding stream, and an average sounding one. Finding the OBS best mic settings will take a bit of trial and error, but is definitely worth the time!
Further reading
If you would like to find out more about live streaming, OBS or any of the terms mentioned above, please visit the below links.
- Understanding The Difference Between XLR & USB Microphones
- How to set up OBS from A-Z
- The Best Live Streaming Software
- What to Look for in a Microphone
- The Best Streaming Hardware & Software

You Can Monetize Your Content With 0% Fees
Try It Free


![[How To] Set up OBS From A To Z](https://www.streamingvideoprovider.com/assets_dist/svp/img/blog-img/how-to-set-up-use-obs/how-to-set-up-obs-tutorial.png)


DON’T MISS OUT
Get updates on new articles, webinars and other opportunities: