
How To Start A Pay-Per-View Website in 6 Easy Steps
According to Statista, it is expected for global PPV revenue to exceed $10 million with SVOD bringing in just over $82 million. These numbers show how attractive on-demand services are to modern audiences.

At the same time, online content creators are currently starting to outgrow limited platforms such as YouTube. And the cost and difficulty of setting up your own PPV website are decreasing. So now is the perfect time to learn how to start a pay-per-view website.
If Pay Per View is a foreign concept to you, we have another tutorial that explains how Pay Per View works.
Now, let’s look at the process and see how easy it is to set up a PPV website.
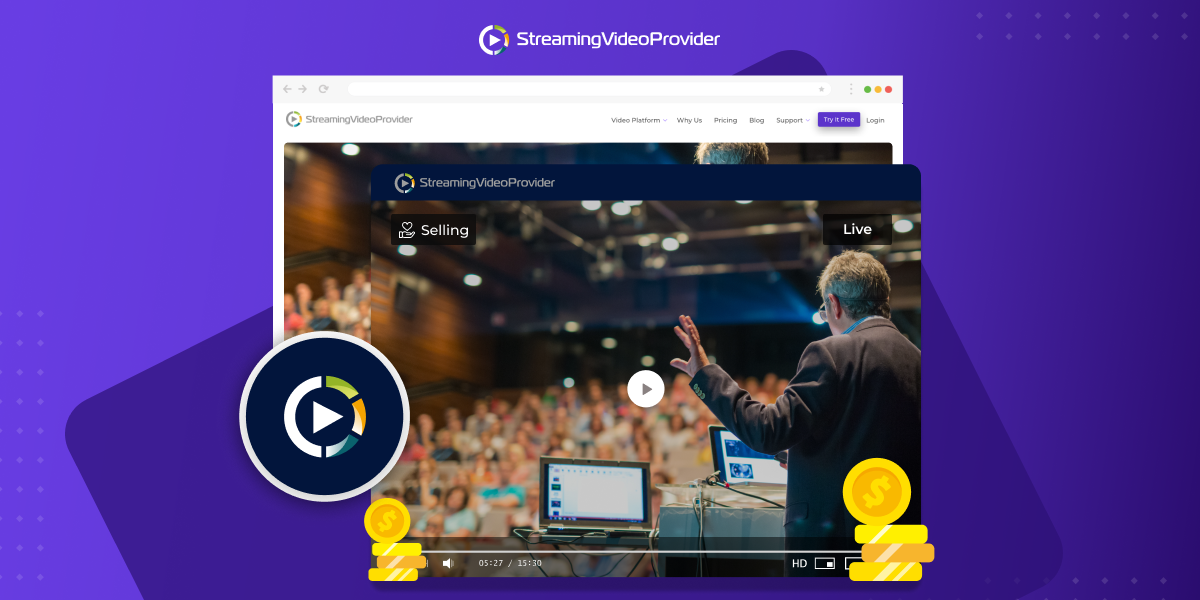
Step 1: Choosing Your Video Provider
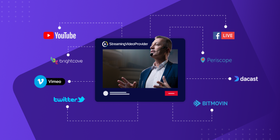
Before you start creating a pay to view website, it is important to choose the right video provider. A video provider will be the service that integrates with your website, allows you to sell tickets online, and give access to your content.
Look for a pay-per-view video streaming platform that ticks as many boxes as possible. By the way, you may want to check out our article on the best video monetization platforms to help you decide. Think about your current business model, and how that may change and adapt in the future.
The best live streaming pay-per-view solutions can grow and scale with you.
Here are some key things to look for when choosing your video provider
- Multiple monetization options — i.e purchase, rental, subscription passes
- Live streaming capability — or even better, multistreaming
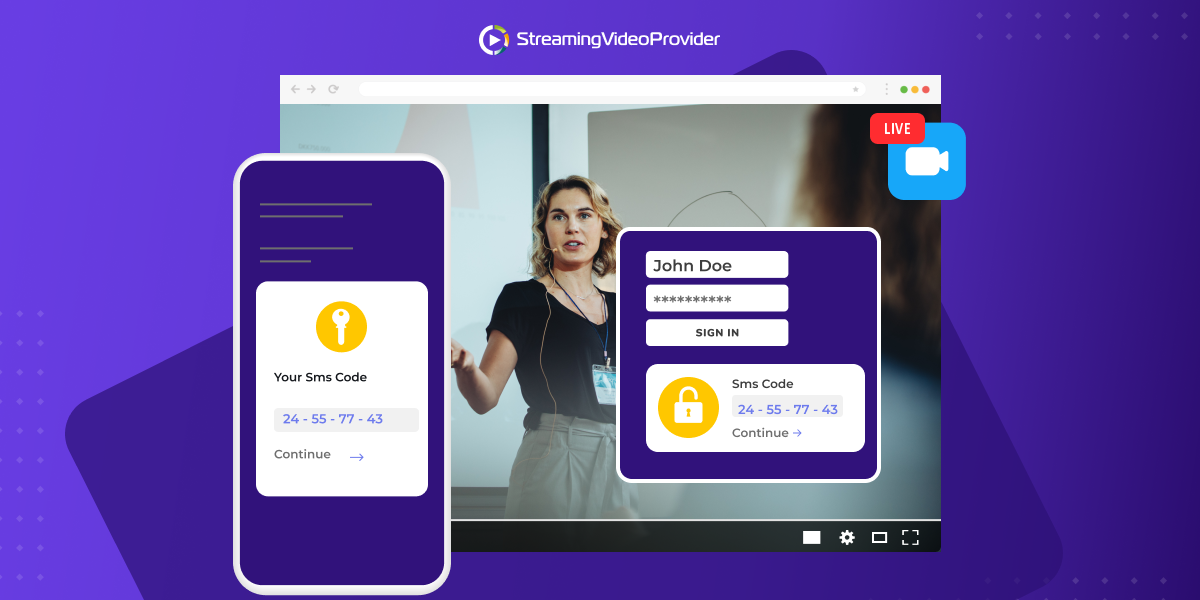
- Security features — stop users from sharing PPV passwords and tickets with 2FA (two-factor authentication)
- Low fees — many providers include “hidden fees” and transaction costs
- White-label customization — personalize and brand your video player
Step 2: Choosing A Host And Domain For Your PPV Website
Another important thing to consider when you create a pay access website is your domain name, and website host.
Let’s start with your domain name. Your domain name will be the URL that links to your website. It should be memorable and catchy so that viewers can easily pass it on to others.
Choosing your web host requires a bit more research. At the very least, make sure that your chosen host offers cPanel which allows you to install WordPress very easily. Installing WordPress via cPanel is as easy as installing software on your computer and requires only a few clicks.
Your host should have servers that are speedy and optimized for content management systems. Waiting for websites to load is frustrating, reduces the chances of viewers wanting to stick around, and pushes your website to the bottom of search results.
Once you have logged into your chosen host, follow the process via the cPanel install wizard. This process differs from host to host, but it should be easy to complete.
Another method would be to install WordPress manually via FTP. We only recommend this for more experienced users.
While there are many other website builders, WordPress is by far the most established one. It gives you countless possibilities to customize your site and the fact that it’s free makes it perfect for a small business.
Step 3: Configuring WordPress For PPV
Now that you’ve chosen your provider, host, and domain name, you can get things up and running!
After completing the installation, you will have a generic-looking website with placeholder content. Don’t worry about that for now — you can get things looking prettier once you have your video player integrated with your website.
The first thing to do is install a WordPress maintenance plugin. This will allow you to display a placeholder image of your choice to anyone accessing your website while you are working on it. Once you have finished updating your website, you can disable this plugin.
Adding plugins extends your website's functionality, and is very easy to do.
You don’t need a WordPress pay-per-view plugin. You only need a PPV provider.
Make sure you have signed into the administration section of your website. You will usually type in your domain name followed by wp-admin. For example, www.example.com/wp-admin.
Once signed in, click Plugins on the bar to the left of your screen, followed by Add New.
You can install any WordPress plugins with this method.
This process is the same for adding any plugin such as community boards, newsletter functionality, and much more. You will install each plugin separately, and each has its own respective set of options. These options are available on the WordPress sidebar on the left of the screen.
But let’s not get ahead of ourselves just yet! Luckily, WordPress and the embed code provided by your PPV platform should work together straight away. And you shouldn't have to make any changes to WordPress to get things working!
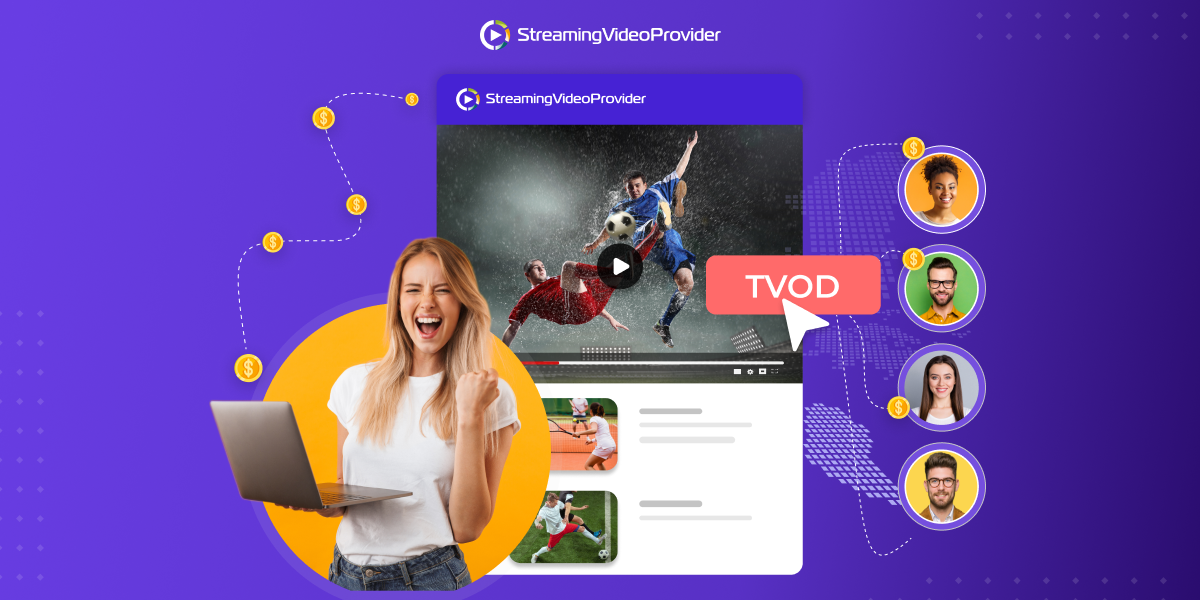
Step 4: Configuring Your PPV Video Hosting Platform
Most of the configuring you’ll be doing will be on your video provider's side of things. You will need to configure your content options and choose a monetization method for your content.
Let’s take a look at how this works with StreamingVideoProvider.
How To Configure Your Video Provider For PPV
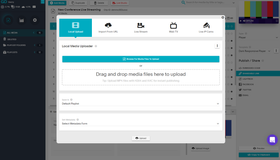
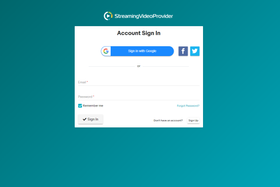
Sign in or create a free StreamingVideoProvider account. (You don’t need a credit card to access our free trial).

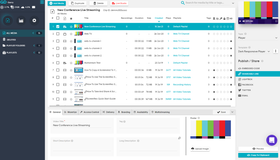
Once you have signed in, upload your content by clicking the Add Media button at the top left.
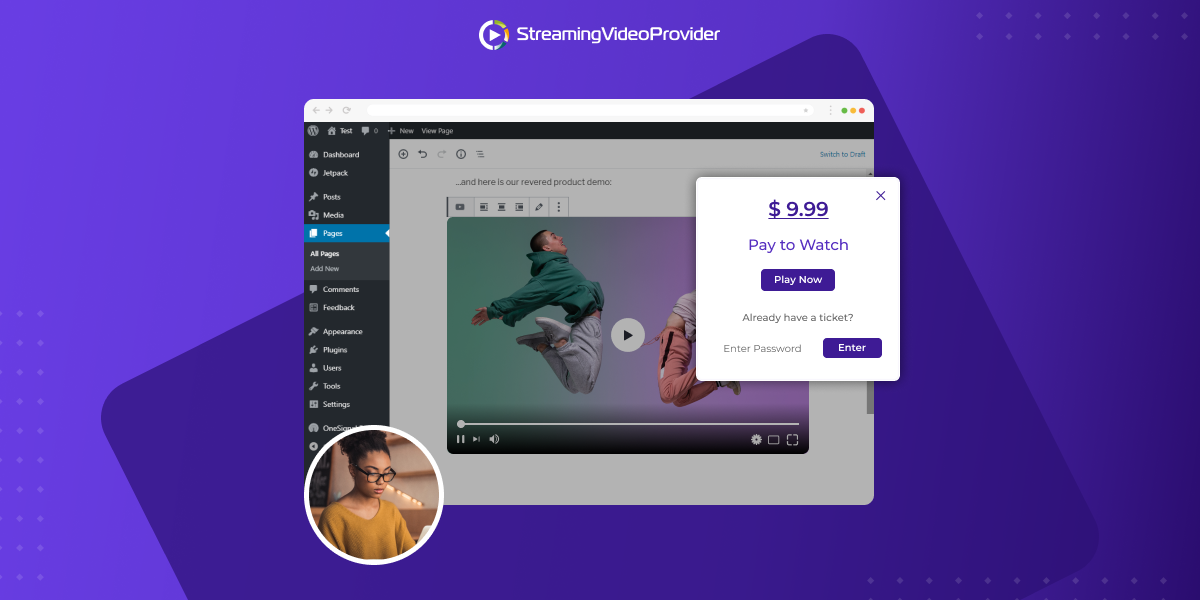
Once your video is uploaded, select it so that we can enable pay-per-view sales.
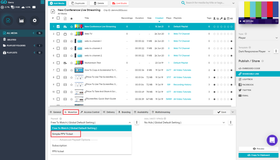
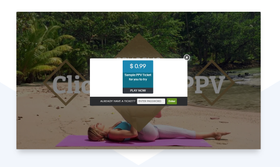
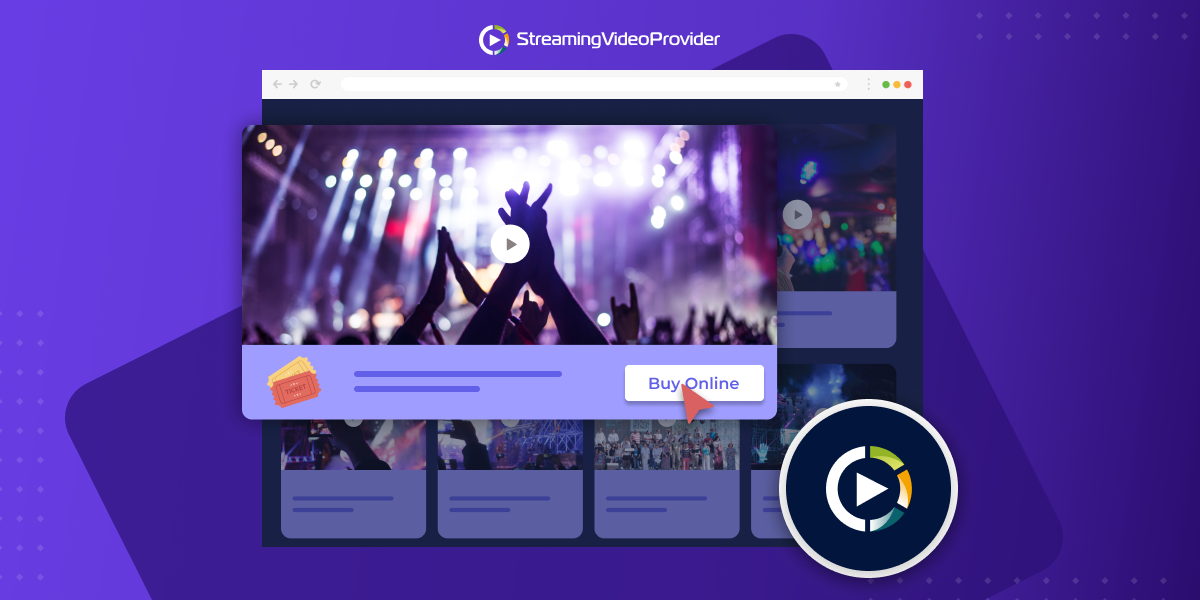
With your video selected, look to the bottom of your screen and click on the Monetize option. Then select Simple PPV Ticket.
You will now be able to enter pricing information along with your chosen currency. Once completed, click the Save button on the right side of the screen.

And it’s as easy as that! You are now ready to start selling your content through your video player!
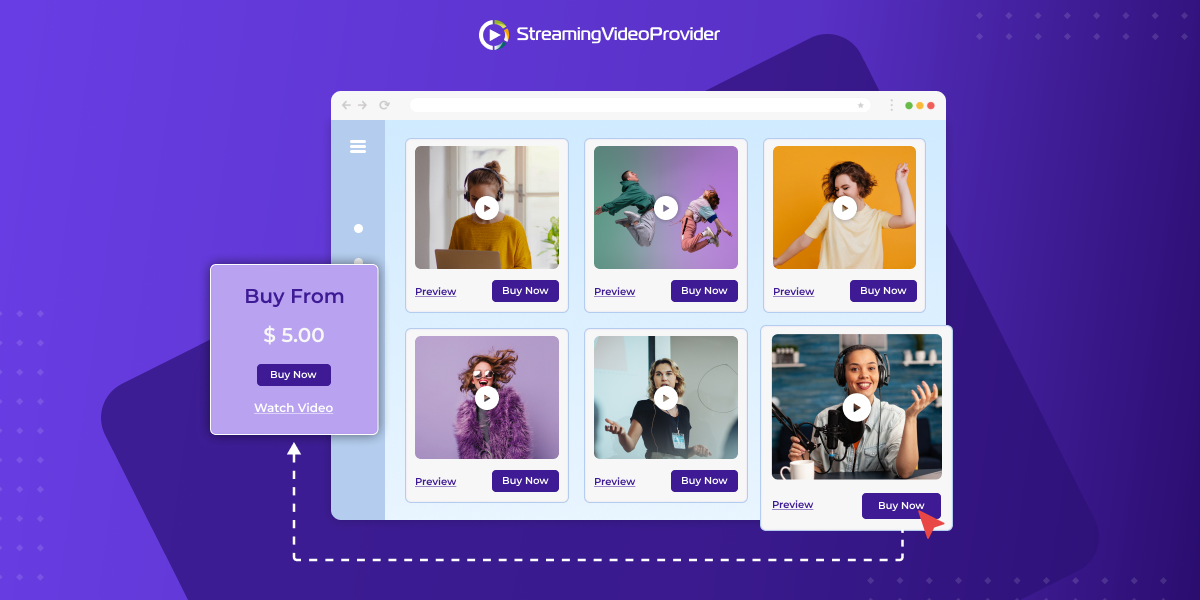
It is worth making sure that your chosen PPV hosting platform allows you to sell access directly from the player. This makes the process seamless for your viewers when accessing content through your website.
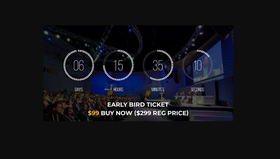
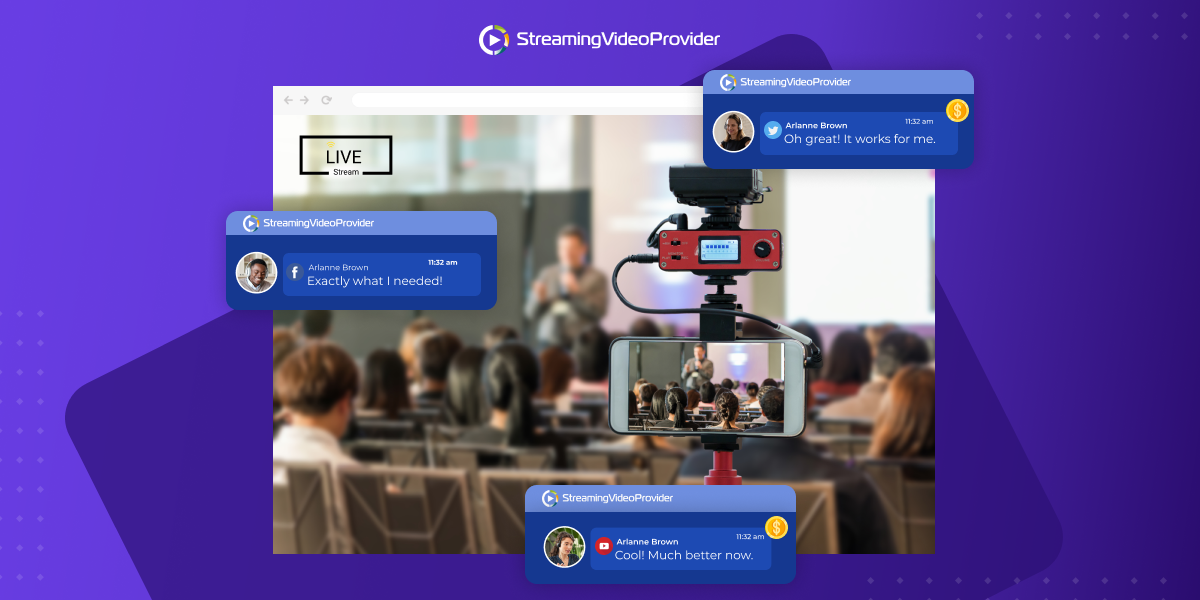
The best providers will also allow you to schedule an event ahead of time. This lets you drum up interest on the lead-up to a PPV live stream while still accepting payment.
Step 5: Selling PPV Content From Your Website
So currently, we have your WordPress website installed, and now we have your video provider configured to sell PPV access to your content. Now we bring them together so that your audience can access your content through your website.
Adding Your PPV Content To Your Website
It is important to remember that your PPV video content isn’t stored on your website.
All video content will be stored by your chosen PPV streaming platform. With white-label video players and control customization, your video player will always look right at home on your website.
First, sign in again on your video provider’s website
Select the media you want to embed onto your website. Once selected, copy the embed code by clicking the button on the right of the screen
This will create your HTML embed code that we then need to paste onto your WordPress website.
Now head over to your WordPress website and sign in.
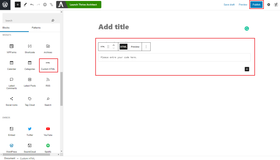
Once signed in, via the left WordPress menu, click Pages > Add New
Paste your embed code that we copied a moment ago into WordPress. You should see Custom HTML as an option under the WordPress Blocks feature. Use this to insert your code, and save the page.
Now that you have saved your page we will want to make it easy for viewers to find it. From the left menu again, click on Appearance > Menus. You should see your new page listed under the Most Recent tab.
Select it, and click Add to Menu. Make sure that it lines up with any existing menus. Once complete, hit Save Menu at the bottom right.


Now if you go back to your homepage on your WordPress website, you should see the menu item listed. If you click on the new menu, it will take you to the page that has your PPV video embedded within it.
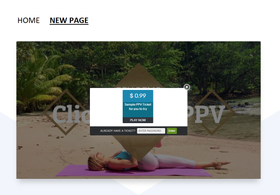
Things will look a little bare-bones at the moment, but that’s ok — we’ve got the hard part out of the way. You should now be able to see your embedded PPV video live on your website!
With StreamingVideoProvider, you can do pay per view streaming by adding streaming video to WordPress, or you can also create a membership site.
Step 6: Finishing Touches
Now we will want to do something about the feature set and visual style of your website. Luckily, there are thousands of fantastic WordPress plugins and themes available to make your website great!
Theming Your PPV WordPress Website
To start with, visit Theme Forest and have a look at some of the visual themes available for WordPress. WordPress themes can either be free or premium. Premium themes are generally very affordable. These themes can transform your website into something visually stunning.
Once you have downloaded your chosen theme, you should be given a .zip file. Detailed installation instructions should be included with the download. You can install your theme by choosing Upload Theme from the Appearance > Themes menu in WordPress.
You can also browse for themes within WordPress.
To do this, sign in to your website and click Appearance > Themes at the left of your screen. The process here is the same as browsing for plugins. You can search and install themes easily from this location.
Installing Plugins On Your PPV Website
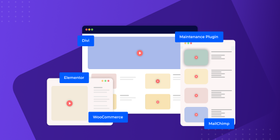
Adding plugins to your website is very easy. Plugins are typically added to extend functionality in a variety of different areas.
For pay-per-view, there are a few great options to start with. First, if your video provider doesn’t allow you to sell content directly from the player, you can sell access through your website. This is a bit more work and is recommended for more experienced users, however.
Here are some great plugins that can dramatically improve your PPV website. Think of these as pieces of pay-per-view website software that enhance your site.
- WooCommerce — Ideal for selling merch, or any other physical products associated with your content.
- Maintenance Plugin — Display a coming soon page for your website.
- Divi — Easily change visual elements of your website via drag and drop interfaces.
- Elementor — Drag and drop interface allowing website customization without coding.
- MailChimp — Grow your email lists and write better newsletters with this email marketing platform.
Similar to themes, WordPress plugins can be free or premium. The one difference here is that some plugins that provide an ongoing service can require a paid subscription.
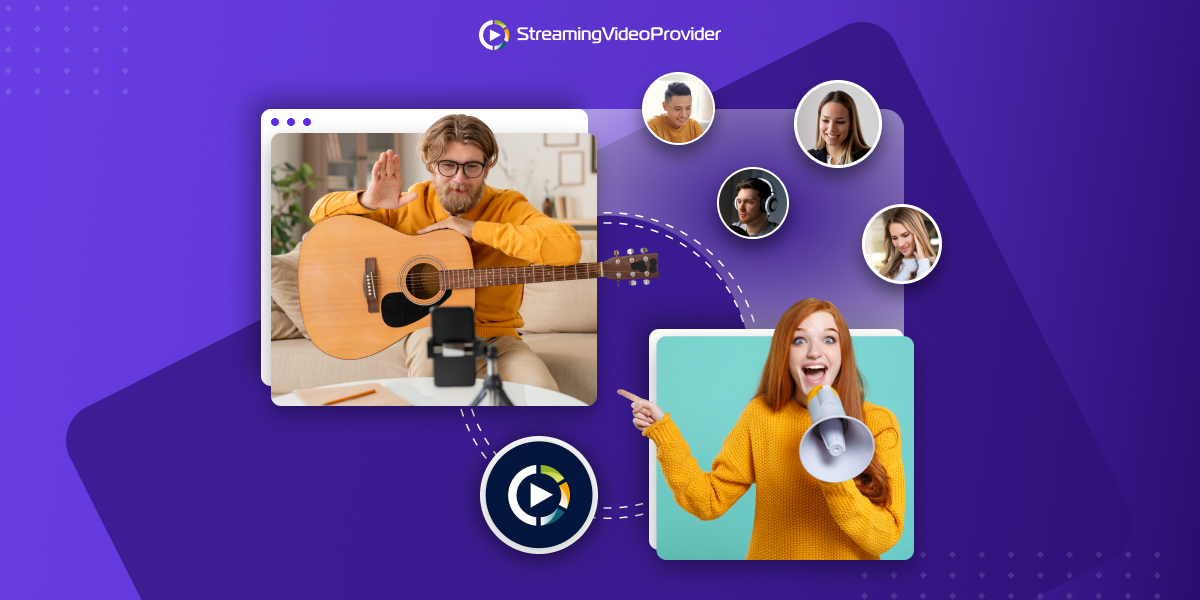
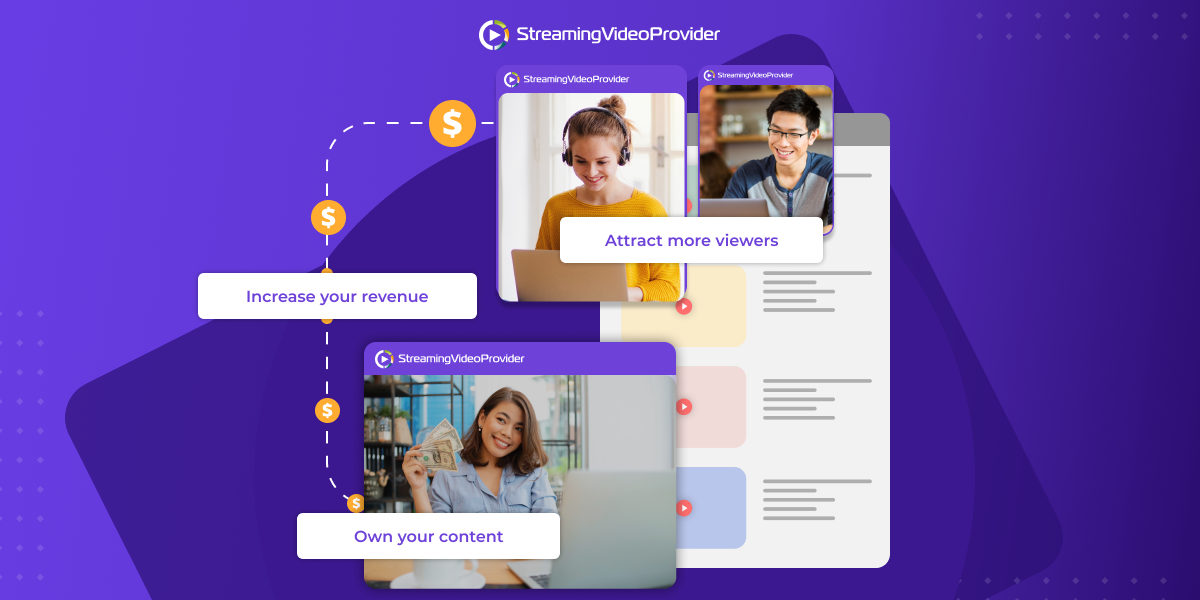
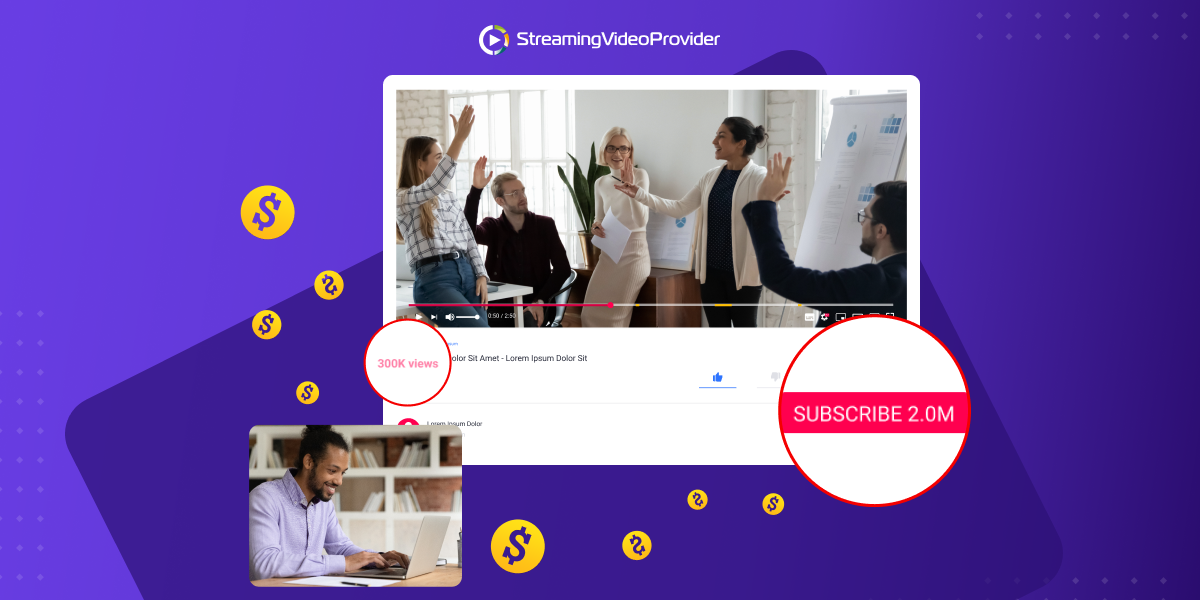
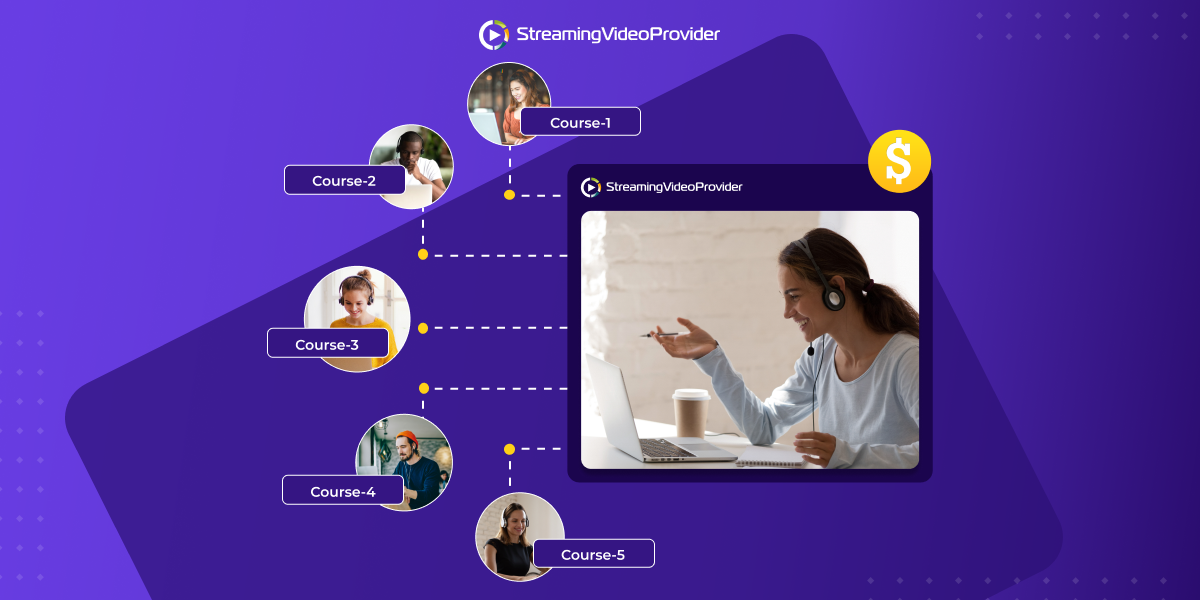
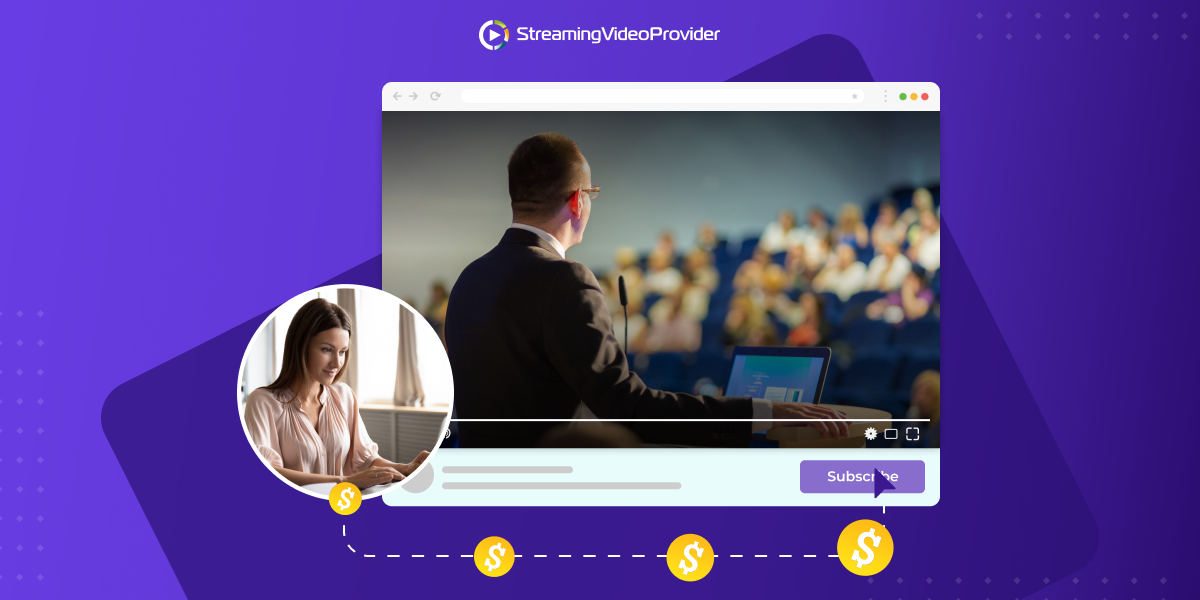
Benefits Of Having Your Own PPV Website As A Creator
There are many positives to having your own PPV website as a content creator.
Let’s take a look at some of the key benefits that come with combining WordPress with a PPV video platform.
Benefits Of Using WordPress With a Video Provider | |
Great Monetization Options |
|
You Don’t Have To Be A Coder |
|
The Best Security and Protection |
|
Optimal Video Hosting |
|
Bring Your Audience Together |
|
FAQs
No, you can’t set up Pay Per View on YouTube. The monetization options on YouTube are currently limited to advertisements. If you intend to monetize your content, It’s worth reading about YouTube’s demonetization rules. There are currently no free pay-per-view websites as these features require a premium service.
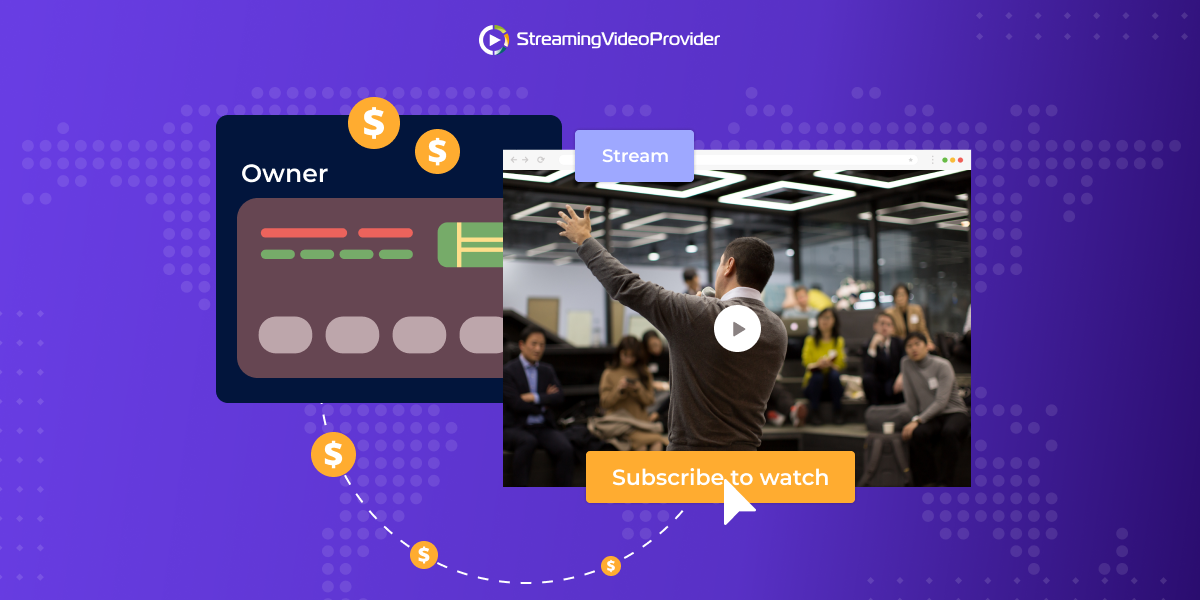
The best way to sell your pay-per-view videos is to upload them to a dedicated PPV hosting and streaming platform. You can then configure your chosen payment gateway, and choose your monetization type.
You don’t need to have any coding experience to create a PPV site in WordPress. Due to making use of drag and drop interfaces, WordPress is a great option for those with no coding experience.
Conclusion
If you wanted to know how to build a pay-per-view website, you should now be ready to go! Creating a pay-per-view website doesn’t have to be overly technical and complicated. We’ve shown you that WordPress and your chosen video provider make for a powerful combination.
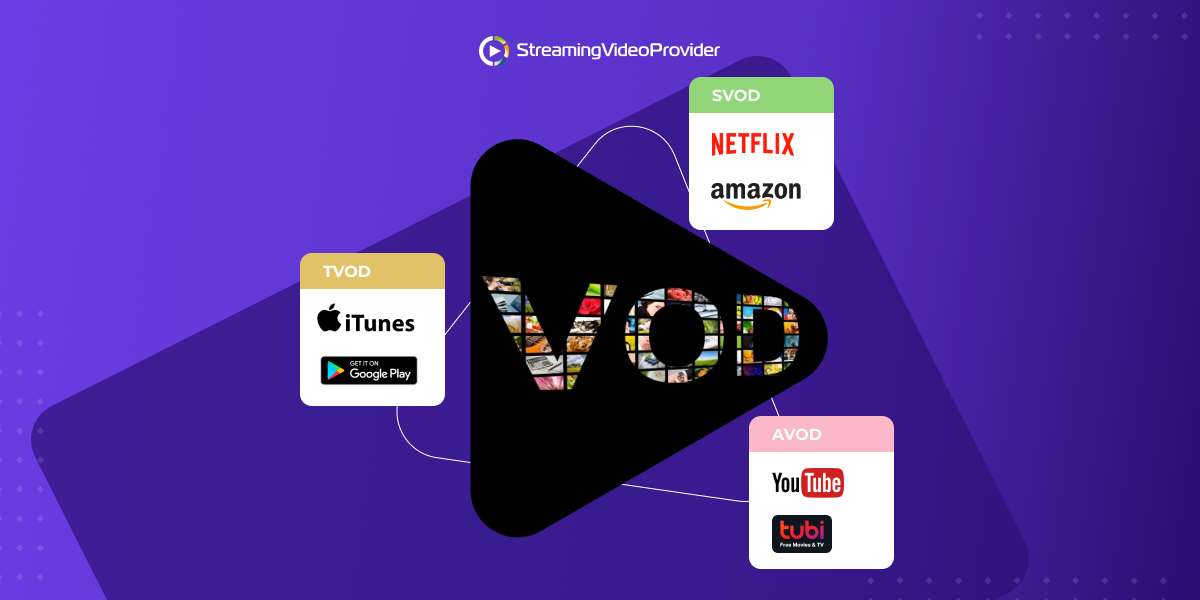
Your website can act as a hub that connects to everything about you, your content, and your brand. It’s a great place to integrate social media, the latest news, and even a membership area. Your video provider should be capable of hosting both SVOD content as well as PPV live stream events.
Now you know how to start a pay-per-view website, what are you waiting for?!
At StreamingVideoProvider, we always strive to give you the best value for your money. You can try all features free for 14 days.
Further Reading
If you would like to find out more about selling your content or broadcasting in general, visit the links below.
- The Quick Guide: How To Stream To Multiple Platforms With OBS
- How To Create A Private Youtube Channel: 2025 Tutorial
- Beginners Guide To WordPress
- 7 Best WordPress Membership Plugins
- The Ultimate Guide to Boost WordPress Speed & Performance

You can start selling PPV videos in < 1 hour
Try It Free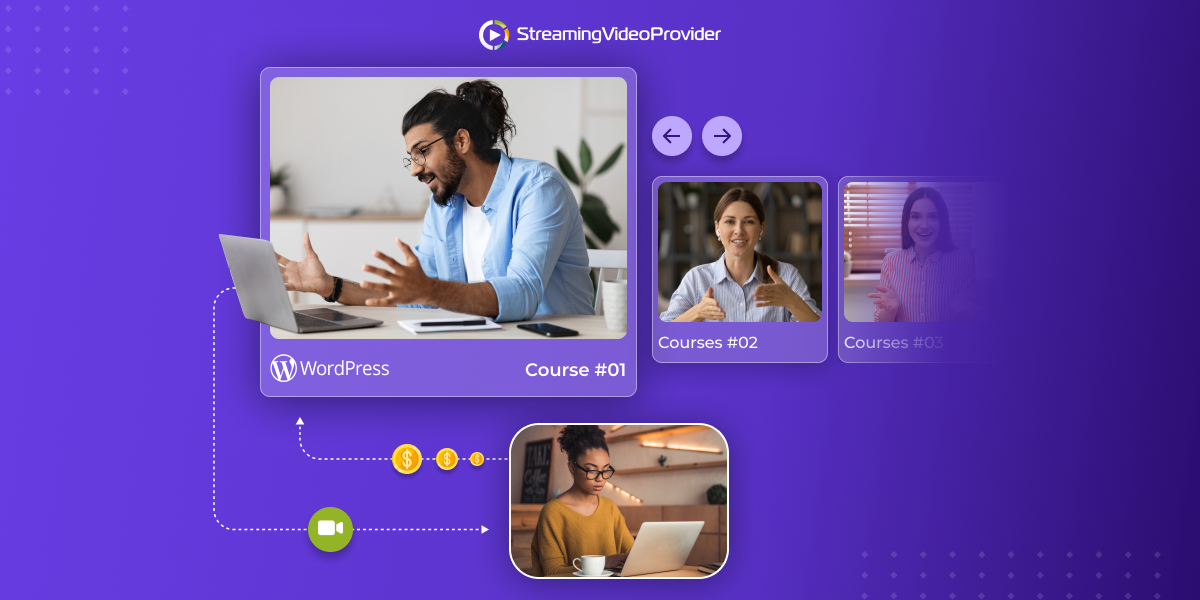

![Broadcast & Monetize A Sports Event With Pay Per View [Full Guide]](https://www.streamingvideoprovider.com/assets_dist/svp/img/blog-img/sell-live-stream-sports-event-pay-per-view/ppv-live-stream.png)
DON’T MISS OUT
Get updates on new articles, webinars and other opportunities: